Search This Blog

Wednesday, December 22, 2010

Gingerbread Cookies and Truffle Tips!

DSCN7594_labeled

In the interest of time (i.e. days until Christmas!), I'm tacking on some Truffle Tips to the end of this post, so scroll down if you've ever had trouble dipping truffles!
DSCN7583_labeled

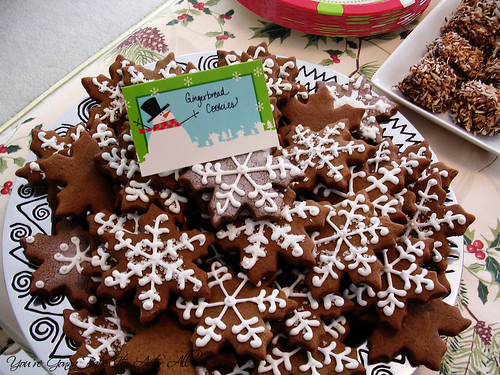
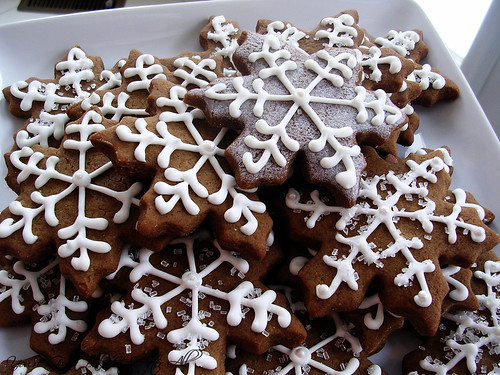
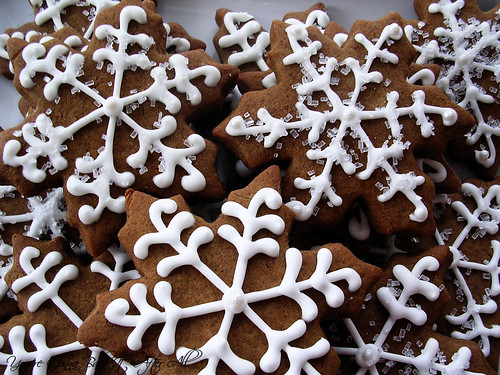
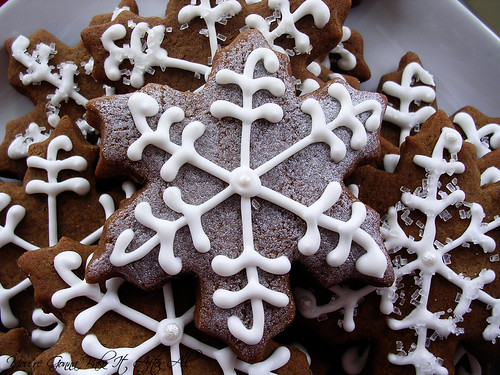
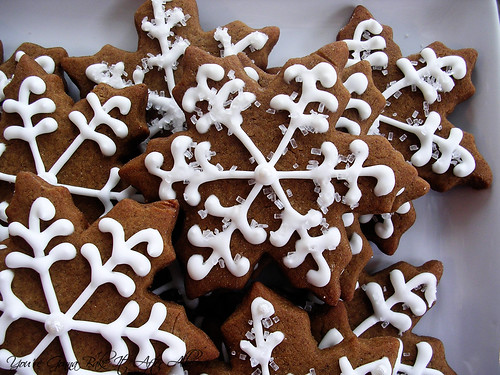
As a child, I always thought Gingerbread Cookies, specifically Gingerbread "people" were so cool, probably because we didn't make gingerbread cookies as part of our Christmas baking tradition. One year, my sister and I convinced my mom to buy a box mix of gingerbread, and we made the cookies. We loved them and had so much fun decorating them. They are one of those cookies that I never considered making from scratch, that is until I saw them two years ago on the blog Good Things Catered. Katie made such beautiful snowflakes that I promptly saved the recipe and planned to make them the next year. Seeing them featured on Annie's Eats last December reminded me about this recipe that I had forgotten, and I made a point to remember this year!

I had so much fun decorating these because they are so pretty! I decided to use sparkly sugar, candy pearl balls, and even some edible shimmer. I had my favorite kitchen helper, my sister Lisa, who did the majority of decorating. This recipe makes a TON of cookies! I served them at the Holiday Party, took some to work, and froze a bunch for later. Some people commented that they were too pretty to eat but were glad when they did because they're delicious!

Gingerbread Cookies

Ingredients:

4 cups all-purpose flour

1 teaspoon salt

1 1/2 teaspoons baking powder

1/2 teaspoon baking soda

1 teaspoon ground cinnamon

1 1/2 teaspoon ground cloves

2 teaspoon ground ginger

1 teaspoon ground nutmeg

1 cup (16 tablespoons) unsalted butter, at room temperature

1 cup sugar

1 cup molasses

1 large egg

Directions:

1. In a large mixing bowl, whisk together the flour, salt, baking powder, baking soda, and spices to combine; set aside.

2. In the bowl of a stand mixer fitted with the paddle attachment, cream the butter and sugar on medium-high speed until light and fluffy, about 2 minutes.

3. Mix in the molasses and egg until combined. Add in the dry ingredients and mix just until incorporated. Cover the bowl and chill the dough for at least one hour.

4. Preheat the oven to 350F, and line baking sheets with parchment paper.

5. Roll the dough out on a lightly floured work surface to about 1/4-inch thickness. Cut into desired shapes with cookie cutters.

6. Place the cookie shapes onto the prepared baking sheets, about 2 inches apart. Bake for 10 minutes, rotating the pans halfway through baking.

7. Remove from the oven and let cool on the baking sheets for 10 minutes. Transfer to a wire cooling rack and let cool completely.

8. To decorate, brush cookie with edible shimmer or leave plain, then use Royal Icing to pipe on designs. Sprinkle with large-grain sugar and/or add pearl balls, if desired.
DSCN7587_labeled

DSCN7578_labeled

Source: Annie's Eats, originally from Good Things Catered

And now for some Truffle Tips:

DSCN7610_labeled

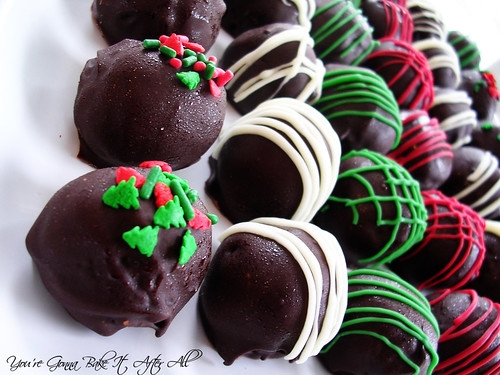
I've had a few people tell me that they have trouble dipping truffles, and I actually had quite a bit of trouble dipping the Cookie Dough Truffles. While I am not a truffle expert by any means, I've complied a few tips that I've found from trial and error.

First you need to get your chocolate the right consistency for dipping. While you can melt the dipping chocolate in the microwave, I prefer to melt it in a double boiler (or in a glass bowl set over a pan of barely simmering water - make sure water does not touch bottom of bowl). This way, the chocolate is continuously heated during the dipping process. Melt the chocolate and add a little vegetable shortening (Crisco) - this really helps thin out the chocolate. You can start with a teaspoon of shortening and keep adding a little more - maybe a total of a tablespoon depending on how much chocolate you are using. Basically, you want the chocolate to be thin enough so that dipping isn't a pain in the butt. I've read that vegetable oil works similarly, but I've never tried it.

Next, determine a method for dipping that works well for you. The way I found that worked best was to drop the formed truffle into the chocolate, one at a time, roll it around gently with two forks, then use only one fork to life it out, shaking off the excess chocolate as you lift up, then transfer the coated truffle to wax paper by gently sliding the truffle off the fork. To be clear, the fork does not stab the truffle, it is just use like a "fork-lift" if you will. This should help reduce the excess chocolate running off the truffle as it sits on the wax paper and pools at the bottom, making it look like a big blob.

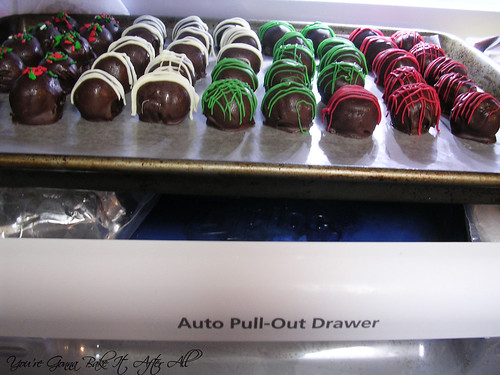
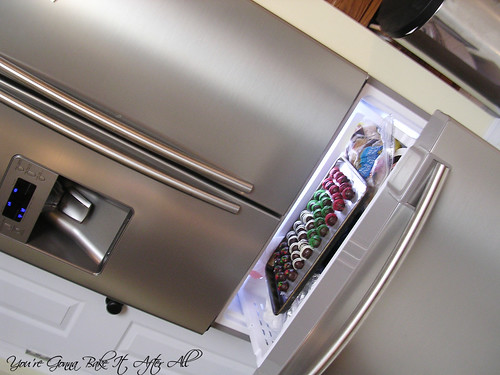
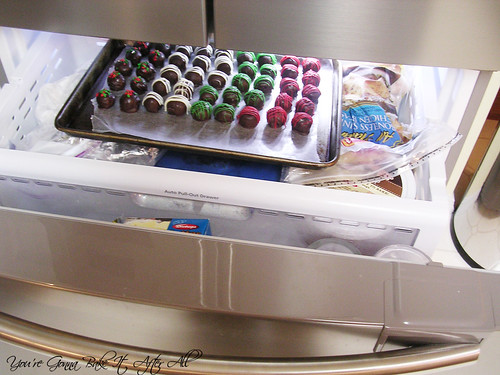
One other thing that might make the process easier is freezing the truffles (even if just for 30 minutes) before you dip them in chocolate; I did this with the cookie dough truffles, but not the Oreo, but I might try it next time. I made my truffles all the way through, then froze them for a week before the party - they turned out perfect! In fact, and I'm a little embarrassed to admit this, but I actually chose our particular fridge/freezer partly because it's conducive to freezing trays of candy!
DSCN7469_labeled

DSCN7465_labeled

DSCN7463_labeled

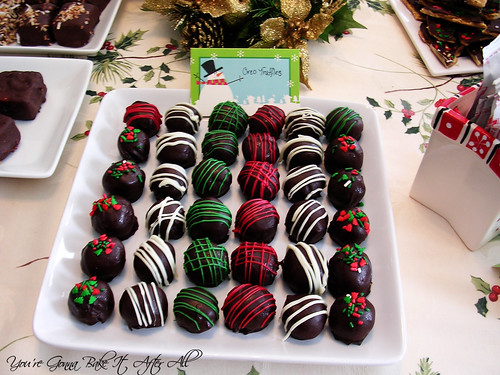
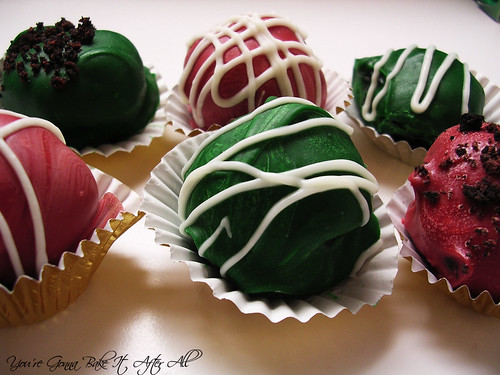
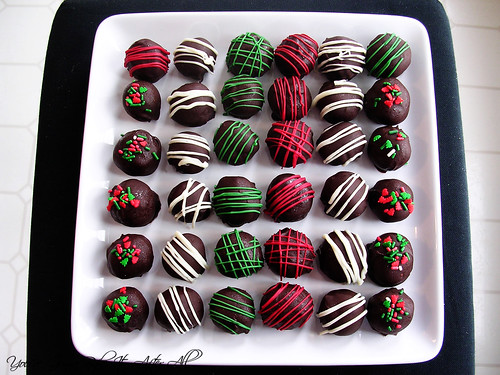
In my experience, chocolate is much easier to work with than white chocolate (and tastes better in my opinion!), so from now on I mostly plan to use white chocolate for the design on top rather than dipping the whole truffle. But, the easiest way to melt white chocolate is the same exact way - double boiler and Crisco to thin. You can also do it in the microwave, but it's more difficult to control the temperature, and white chocolate is more prone to seizing up in my hands.
DSCN7623_labeled

When I do the designs on top, I just put the melted chocolate into a small resealable sandwich bag and snip off a corner. You can use a pastry bag of course, but I find that I can get enough control out of a sandwich bag without having to clean a pastry tip and coupler!

Happy Candy Making!!!

Tuesday, December 21, 2010

Bailey's Irish Cream Mini-Cheesecakes

DSCN7545_labeled

DSCN7497_labeled

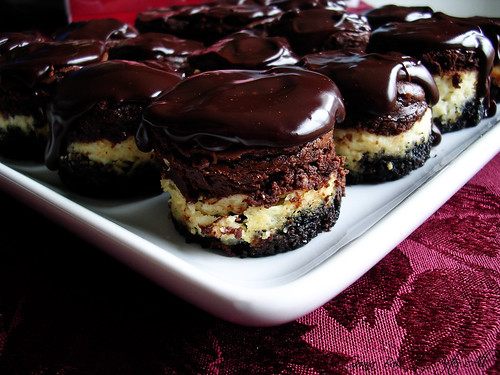
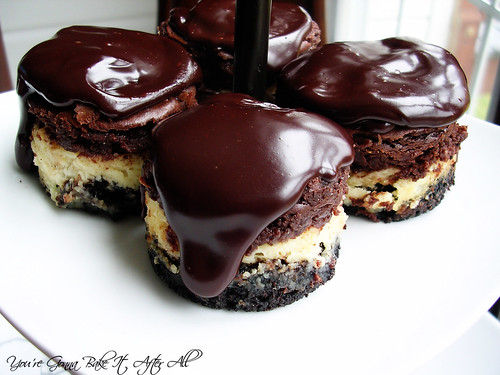
Bob’s work Holiday Party was earlier this month, and everyone was encouraged to bring a snack or dessert. This party fell on the same weekend as our Holiday Open House, so I was already in full dessert mode – what’s one more?! I thought for a while about what to make, then remembered my mini-cheesecake pans. It’s rare that I get the opportunity to use them, and this seemed like the perfect event for a bite-sized, easy-to-grab dessert. One of my favorite cheesecakes is the Bailey’s Irish Cream Cheesecake, so I decided to adapt the recipe to a mini-version. I wasn’t sure how this would work, but they turned out great! They were a big hit at the party, and I had many requests for the recipe. They are actually pretty simple to make, but certainly don’t look simple.
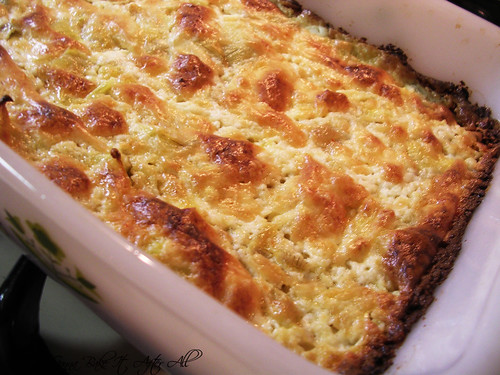
I realize that very few people actually own a mini-cheesecake pan. A friend of mine tried the Pumpkin Spice Magic Bar Mini’s in a muffin pan and she had a very difficult time getting them out of the pan – in fact they fell apart. I can see why this happened considering the cheesecake pan allows you to push the removable bottom up to remove the cheesecake from the pan without disrupting the crust. If you would like to make this recipe and don’t have a mini-cheesecake pan, go ahead and use a muffin tin, but make sure you use paper liners. You can always remove them before you top with ganache - just make sure you coat them with nonstick cooking spray!

Bailey’s Irish Cream Mini-Cheesecakes

Yield: 24 mini-cakes (make a half recipe if just using 1 mini-cheesecake pan, which yields 12)

Ingredients:
For the crust:
16 whole Oreos, finely ground in food processor
3 tablespoons melted butter

For the filling:
16 ounces (2 8-ounce packages) cream cheese
1/2 cup sugar
2 eggs
1 1/3 cups sour cream
3 Tablespoons Bailey's Irish Cream
1 teaspoon vanilla extract
6 ounces semi-sweet chocolate, melted and cooled slightly

For the ganache glaze:
4 ounces bittersweet chocolate, coarsely chopped
1/2 cup heavy cream
2 teaspoons light corn syrup

Directions:
Preheat oven to 350F.
1. Combine the ground Oreos and melted butter into a bowl until well combined. Spoon into 24 mini cheesecake cups. Press into the bottom of each cup so the crust is flat. If you have a small cup or container small enough, that works well. Partially bake for 10 minutes then remove from oven.

2. In a large bowl with a handheld or stand mixer, beat the cream cheese and sugar until light and fluffy. Beat in eggs, one at a time. Stir in sour cream, Bailey's, and vanilla.

3. Pour or spoon batter into cheesecake pan cups to fill to a little less than half of the cup. Then add the melted chocolate to the rest of the batter. Fill the cups to about 3/4 full.

4. Bake for 25-28 minutes until cheesecake is cooked through. Remove to a wire rack to cool.

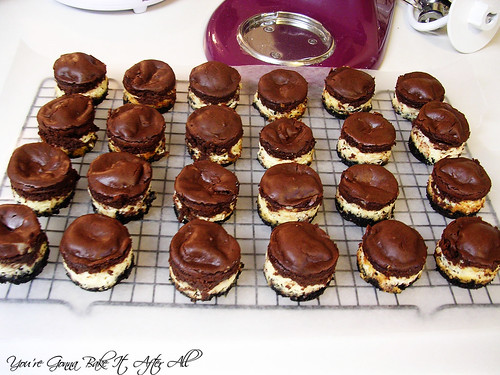
5. Once the cheesecakes have cooled, loosen the edges with a plastic knife and remove them from the pan by pushing up on the removable bottoms. Arrange them on a piece of waxed paper and make the glaze.

DSCN7482_labeled

6. To make the ganache glaze, put the chocolate in the top of a double boiler and melt above simmering water (or use microwave to melt). The chocolate should be just melted and only warm, not hot. Meanwhile, bring the cream to a boil in a small saucepan. Pour the hot cream over the chocolate and stir very gently with a rubber spatula until the mixture is smooth and shiny. Stir in the corn syrup.

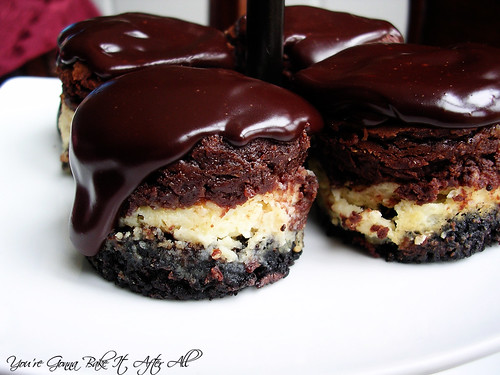
7. Pour the glaze over the cheesecakes and smooth the top with the back of a spoon or a metal icing spatula. Don't worry if the glaze drips unevenly down the sides of the cheesecakes, it actually makes for a pretty presentation. Alternatively, you could leave the cheesecakes in the pan and pour the glaze on top, let set (best to put in fridge), then run a plastic knife around to loosen, lift the cakes out, and have a nice ganache layer on top with no drips!

8. Refrigerate cheesecakes until ready to serve. If keeping overnight or longer, wait until glaze sets, then cover with foil.

Sources: Adapted recipes - Crust, Cheesecake, Ganache

DSCN7492_labeled

Thursday, December 16, 2010

Holiday Party!

DSCN7630_labeled_1
The "sweets" table!

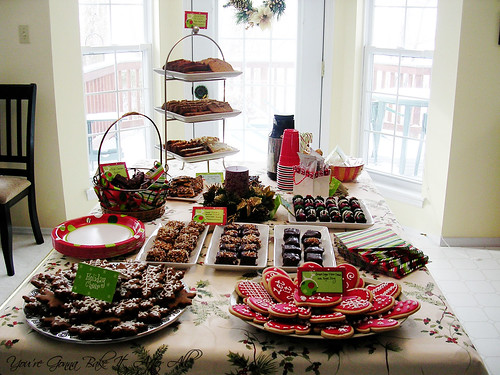
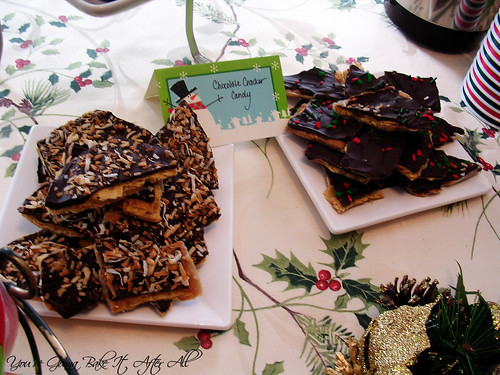
We had our first annual Holiday Open House this past weekend for some friends and family! I have been wanting to do this for so many years, but we've never had a place that could really accommodate that many people. I went a little overboard on the desserts, especially considering we had our first real snow that morning so several guests had to cancel! We had savory food as well, but I'm just sharing the desserts - some of which are my favorite holiday recipes, some of which are new and will be posted next week. We had such a great time and hope our guests did as well! :)

DSCN7643_labeled

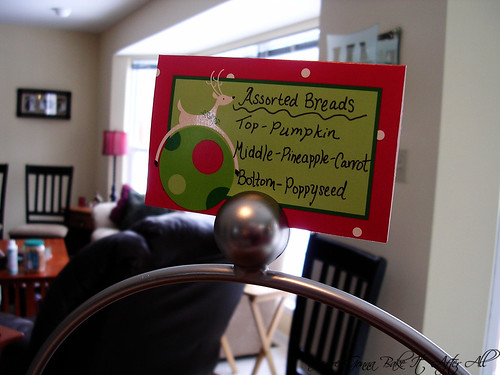
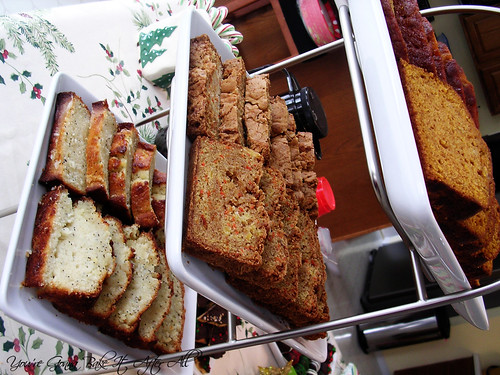
The Trio of Quick Breads:
DSCN7636_labeled

DSCN7645_labeled

DSCN7642_labeled

Gingerbread Cookies (recipe to be posted soon!)
DSCN7641_labeled

Oreo Truffles (I will post some tips for an easier way to make these soon!)
DSCN7639_labeled

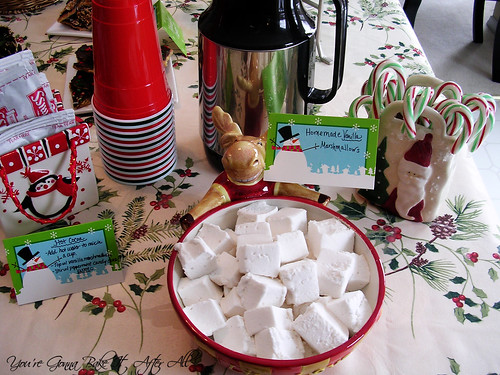
Homemade Vanilla Marshmallows (I had a make-your-own hot cocoa station - just packets of cocoa with hot water in a carafe and candy canes to swirl around - this was a BIG hit!)
DSCN7638_labeled

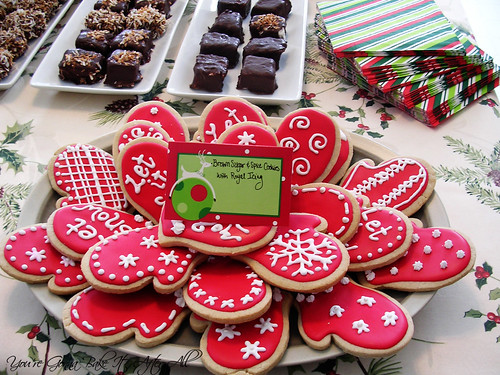
Brown Sugar and Spice Mitten Cookies (recipe coming soon!), behind those are the chocolate/toasted coconut covered homemade marshmallows!
DSCN7640_labeled

Beware - if you make these "Let It Snow" cookies . . .DSCN7567_labeled

it just might happen:
DSCN7549_labeled

Hope everyone has a wonderful weekend! We leave tomorrow for our first Christmas celebration!

Monday, December 13, 2010

Baby Shower Cookies!

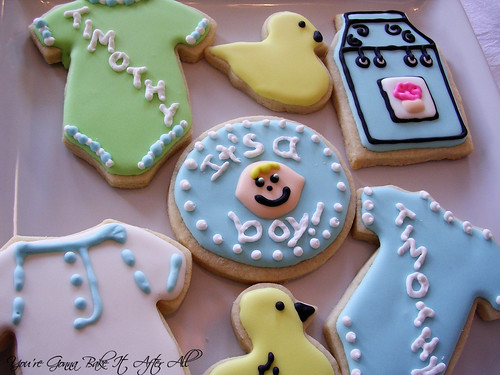
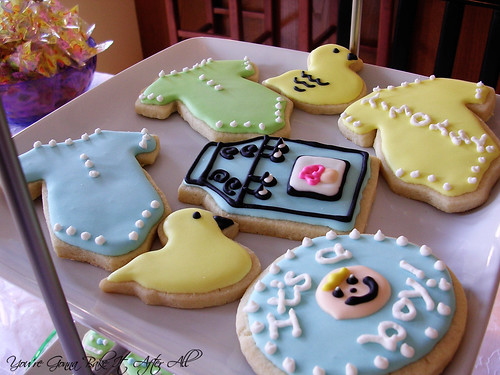
DSCN7422_labeled2

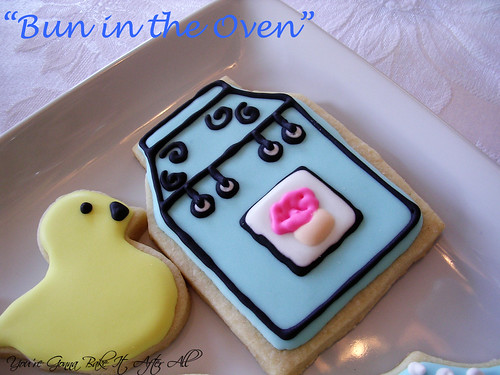
I have to interrupt the schedule of holiday recipes to bring to you these adorable Baby Shower cookies! I enlisted my mom and sister to help me decorate these for my cousin's baby shower, and we were thrilled with the outcome. I first saw the onesie cookies on Annie's blog, and the "Bun in the Oven" and "It's a boy!" concepts are from Bridget. I can't thank these ladies enough for the amazing inspiration!

I will just share pictures in this post, as well as links to previous posts about sugar cookies and royal icing. If you have specific questions, please let me know. Once you get a hang of it, royal icing is a very powerful skill to have. I get such a sense of satisfaction when I make these kinds of cookies, especially when I see how happy they can make other people :)

Stay tuned in the future for another batch of onesie cookies I made for a friend's baby shower!

DSCN7415_labeled

DSCN7412_labeled

Friday, December 10, 2010

Holiday Recipe Round-Up

With the abundance of Holiday parties coming up, I wanted to compile a post of my favorite Holiday recipes. Last year I did a series called the 12 Days of Christmas and presented some tried and true recipes that I've come to depend on as holiday staples. While I am certainly trying some new recipes this year, I still turn to these classics to round out my baking. I can safely say that each and every one of these (with the exception of the Buche de Noel, for lack of time) will make an appearance in my kitchen this season. I am also including some of my favorite appetizers, because a holiday party is not quite complete without them!

Sweets:

DSCN4221_labeled
- my grandma's recipe. Buttery, bite-sized, and all around perfect.

DSCN4661_labeled
- also my grandma's recipe with my spin to make them chewier. Hands down the best oatmeal cookie I've ever had.

DSCN4539_labeled
- people go nuts for this stuff, it is THAT good!

DSCN4518_labeled
- sounds a little odd but the combination is spot on in this perfectly-spiced treat.

DSCN4502_labeled
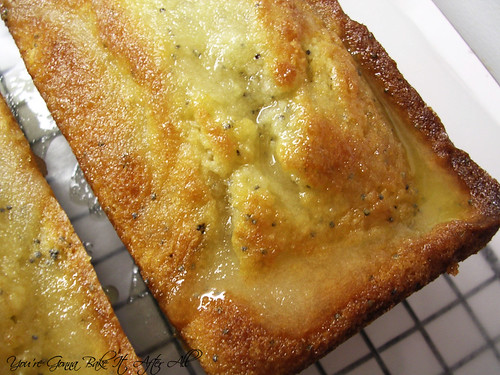
- no lemon in this poppyseed bread! This is an incredibly moist and flavorful bread with the flavors of butter and almond extract. The sweet drizzle on the crispy top adds another dimension to this already tasty confection.

DSCN4594_labeled
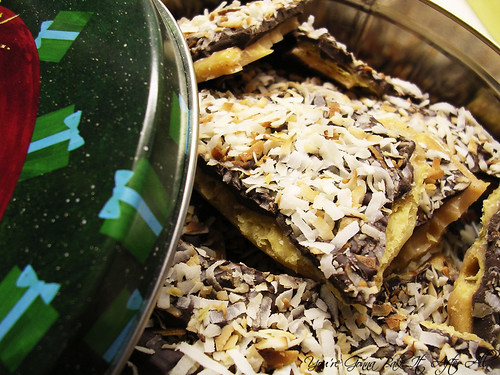
- simple yet elegant. Surprise your friends with this easy homemade candy!

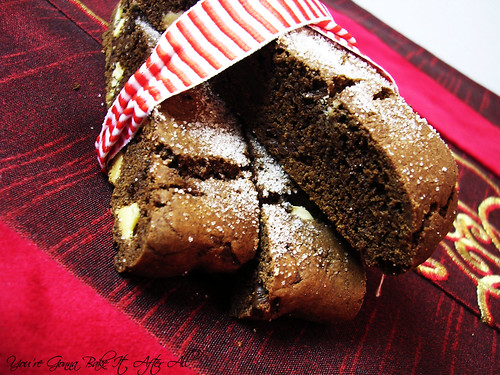
DSCN4644_labeled
- the perfect accompaniment to a cup of coffee or tea! I am still surprised by how much I LOVE this recipe! It's one of my favorites from all of last year.

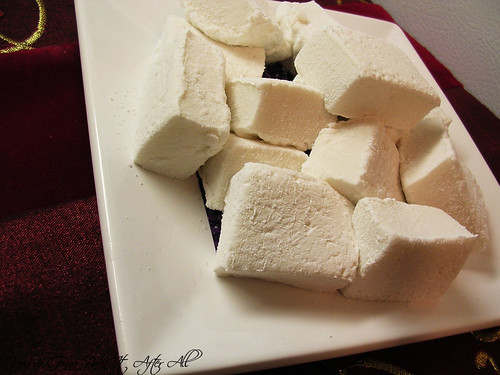
As someone who doesn't like marshmallows, I was shocked that I enjoyed these. Soft and melt-in-your-mouth good. And one of my favorite inventions from last year:

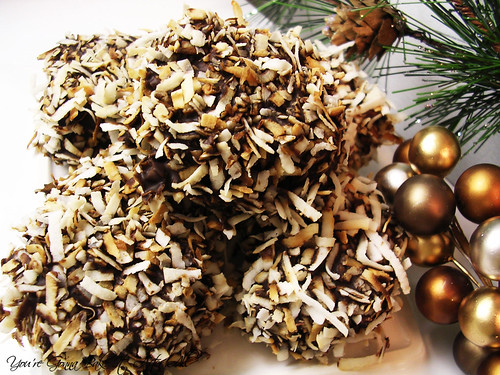
Coconut and Chocolate Covered Homemade MarshmallowsDSCN4683_labeled
- I don't often try to develop my own "recipes" but I did for this one and I am so happy with the result. Serve these as candy!

DSCN4665_labeled
Nothing beats a good macaroon in my book. Try dipping the bottoms in chocolate - a little tip from my friend Kat!

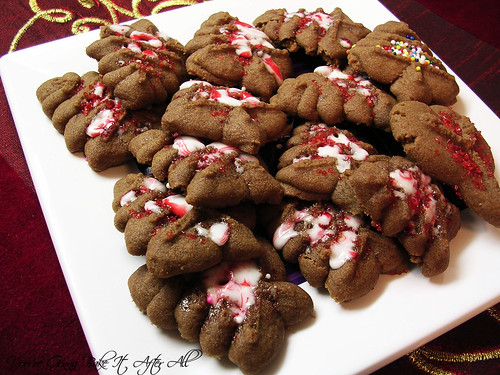
- buttery goodness with a chocolate flavor. So good topped with crushed peppermint!

DSCN4709_labeled
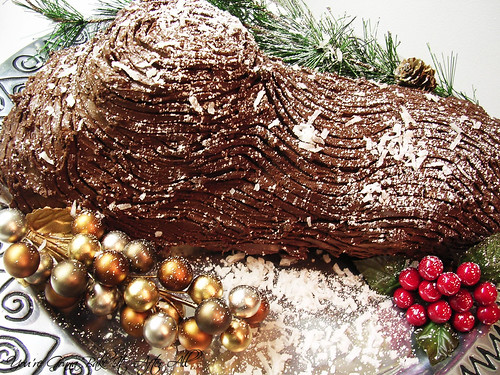
If you're ambitious or have an event where you want to impress others with your baking skills, this is the recipe for you! This classic French dessert is fun to make and even more enjoyable to decorate!

DSCN4787_labeled
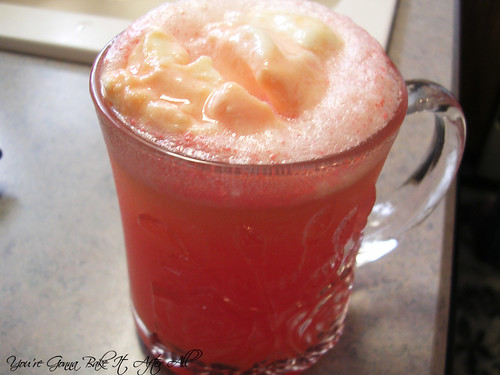
- surely a sugar rush but this festive punch will put you in the holiday spirit and it's always a hit with kids.

DSCN4767_labeled
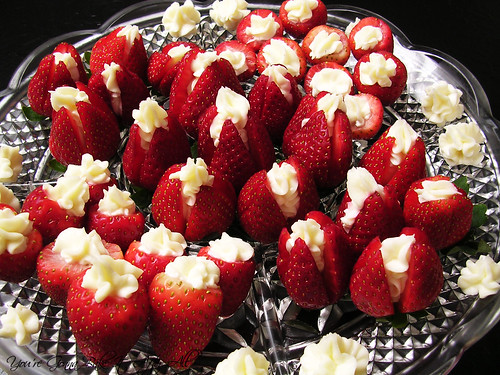
- convince yourself these are a healthy option at an otherwise sugar-covered table. Filled with sweet, fluffy marshmallow cream cheese, this finger food is easily popped in your mouth with little mess.

DSCN6132_labeled
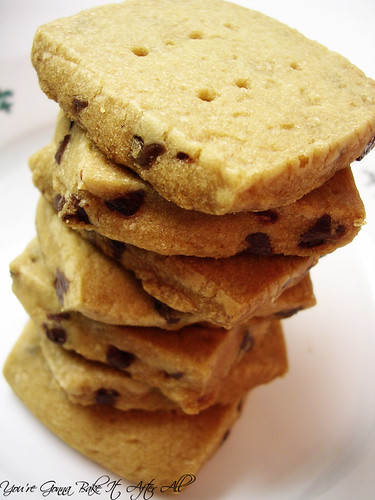
- buttery cookies with flavors of chocolate and coffee.

Savories:

DSCN4307_labeled
can't even describe the deliciousness . . .

- one of my favorite holiday appetizers!

- no one will know they are turkey!

DSCN4776_labeled
- bubbly and cheesy . . . enough said.

Unbelievably good. I am always amazed each time I make them. These are always a crowd favorite and the picture does NOT do them justice. I will make an effort to get a better shot this year!

DSCN4048_labeled
Common ingredients come together in an uncommonly good dip.

DSCN6538_labeled
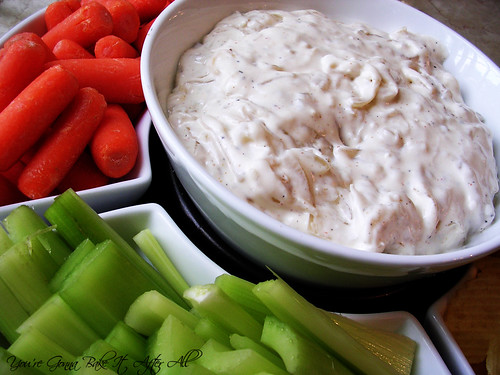
Ina sure knows her dips, and this one is fantastic. What better way to enjoy veggies than drowning them in caramelized onions, sour cream, and cream cheese?!

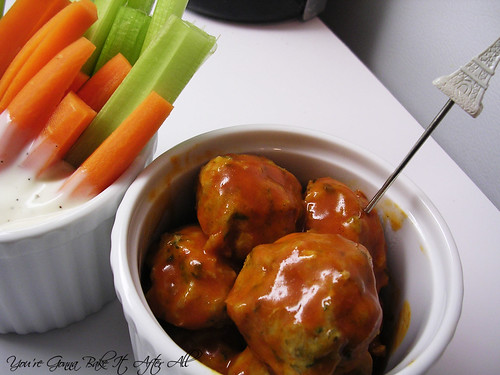
The flavors of buffalo wings without the mess!

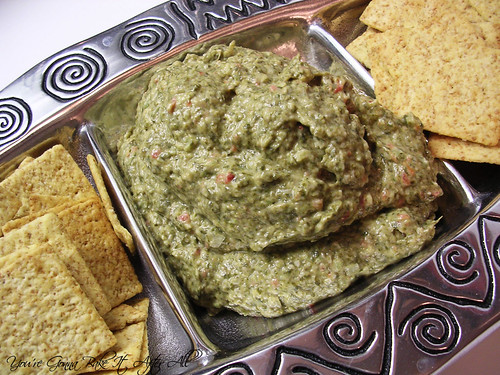
- an awesome dip without the hefty price tag!

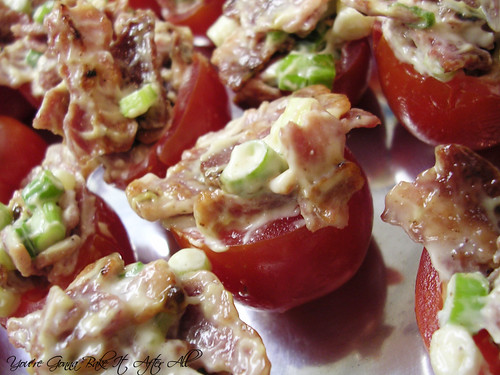
You can rarely go wrong with bacon . . . try using turkey bacon for a slightly healthy alternative - your guests will never know the difference!


That's it for the round-up! I will post details about my holiday party next week! Have a happy and safe weekend! :)

Thursday, December 9, 2010

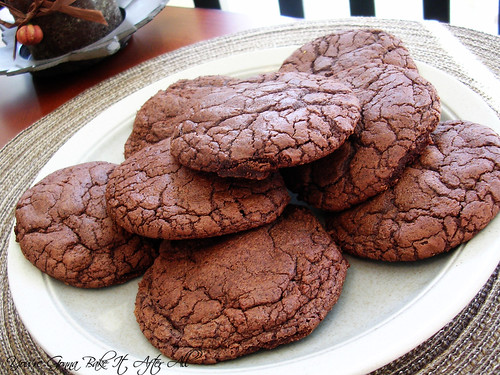
Thick and Chewy Double Chocolate Cookies

DSCN7274_labeled

I hope everyone is enjoying the start of the holiday season! I've been doing some serious baking in preparation for my first annual Christmas Party! I am so excited to finally have a home where I can gather friends and family. This will be our first big party that I am throwing on my own (I had a considerable amount of help from my aunt and mom for Thanksgiving!)

I am planning a post to round-up some great holiday recipes from last year, so expect that soon. In the meantime, I thought I'd share these fudge-like cookies, since fudge recipes are so popular around the holidays.

When I was a kid, our local grocery store would always give a free cookie to each child who came to the bakery with his/her parent. We aren't talking a dinky sample-sized cookie either - these were large bakery cookies! Every once in a while, my mom would let my sister and I get one. My sister would choose a classic, chewy sugar cookie, while my favorite was an equally chewy chocolate-chocolate chip. I set out to find a really good, chewy chocolate cookie, so of course I turned to my America's Test Kitchen Cookbook. These cookies were reportedly fudge-like, which sounded great to me. They really reminded me of a fudgey brownie, or just plain fudge, but they have a nice firm exterior with a chewy fudge interior - seriously good. You can mix in chocolate chips for a true chocolate-chocolate chip cookie, but I skipped that this time around. If you wanted to make these festive, you could even add in some mint chips! (or cinnamon chips, white chocolate chips, butterscotch chips.... yum!)

Thick and Chewy Double Chocolate Cookies

Ingredients:
2 cups all-purpose flour
1/2 cup Dutch-processed cocoa powder*
2 teaspoons baking powder
1 teaspoon table salt
16 ounces semisweet chocolate , chopped
4 large eggs
2 teaspoons vanilla extract
2 teaspoons instant coffee or espresso powder
10 tablespoons unsalted butter (1 1/4 sticks), softened but still firm
1 1/2 cups light brown sugar
1/2 cup granulated sugar

*I had a hard time finding this. I ended up having to go to a local international grocery store. I know Penzeys has it if you have a location near you; otherwise, you might need to look online. I did end up finding some in a traditional grocery store by Ghiradelli near the chocolate chips, although it was not specifically called "Dutch processed" but rather cocoa powder alkalized by the Dutch method - same thing I think! I don't recommend substituting natural cocoa powder . . . I did this in another recipe and had issues.

Directions:
1. Sift together flour, cocoa, baking powder, and salt in a medium bowl; set aside.

2. Melt chocolate in a medium heatproof bowl set over pan of barely-simmering water, stirring once or twice, until smooth; remove from heat.

3. Beat eggs and vanilla lightly with fork, sprinkle coffee powder over to dissolve, and set aside.

4. In the bowl of standing mixer fitted with paddle attachment (or with a hand mixer), beat butter at medium speed until smooth and creamy, about 5 seconds (15 seconds with hand mixer). Beat in sugars until combined, about 45 seconds (1 1/2 minutes with hand mixer); mixture will look granular. Reduce speed to low and gradually beat in egg mixture until incorporated, about 45 seconds (1 1/2 minutes with hand mixer).

5. Add chocolate in a steady stream and beat until combined, about 40 seconds (1 minute with hand mixer). Scrape the bottom and sides of the bowl with a rubber spatula. With the mixer at low speed, add the flour mixture and mix until combined, about 40 seconds (1 minute with hand mixer). Do not overbeat.

6. Cover with plastic wrap, and let stand at room temperature until consistency is scoopable and fudge-like, about 30 minutes.

7. Meanwhile, adjust oven racks to upper- and lower-middle positions and heat oven to 350 degrees. Line 2 cookie sheets with parchment paper.

8. Leaving about 1 1/2-inches between each ball, scoop dough onto parchment-lined cookie sheets with 1 3/4-inch diameter ice cream scoop.

9. Bake cookies until edges have just begun to set but centers are still very soft, about 10 minutes, turning cookie sheets from front to back and switching from top to bottom racks halfway through baking. Do not overbake!

10. Cool cookies on sheets about 10 minutes, slide parchment with cookies onto wire rack and cool to room temperature; remove with wide spatula.

Makes approximately 3 1/2 dozen cookies.

Source: Adapted from the America's Test Kitchen Complete TV Show Cookbook

  © Blogger template Brownium by Ourblogtemplates.com 2009

Back to TOP