Search This Blog

Showing posts with label Cupcakes. Show all posts

Sunday, May 24, 2015

Cupcake Gender Reveal!

DSC_0708_ed


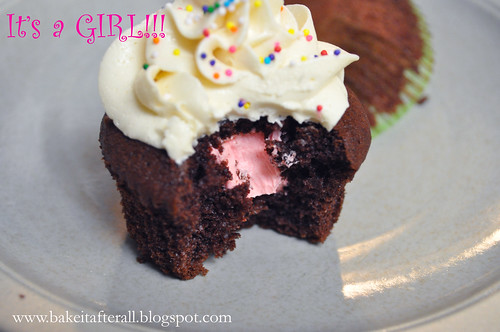
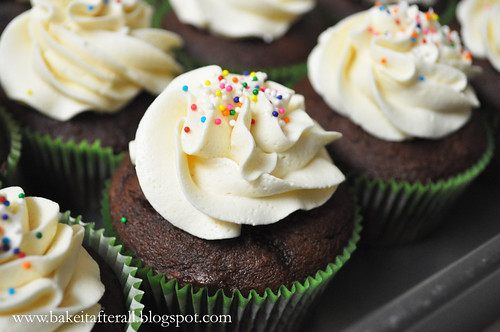
When I found out I was having a girl during my first pregnancy, I knew I wanted to reveal the sex of our baby in a fun way and ended up doing a Truffle Reveal.  For our second, I wanted to do something different but still incorporate my love for baking.  I like the idea of an individual dessert so each person can discover the surprise on his/her own.  I decided to fill cupcakes with either pink or blue frosting so each person would bite into the cupcake to reveal whether Ava was getting a little brother or sister.  If you've been reading earlier posts, you know that the we had a girl!  I was beyond excited for Ava to have a little sister, since I love my little sister so much and can't imagine my life without her.  Of course I meant to blog this when the news was actually news, but being pregnant plus taking care of a toddler got the best of me. Regardless, I thought it would be fun to document how we revealed our surprise to our family and show a little step-by-step of how to make these cupcakes.


Cupcake Gender Reveal 

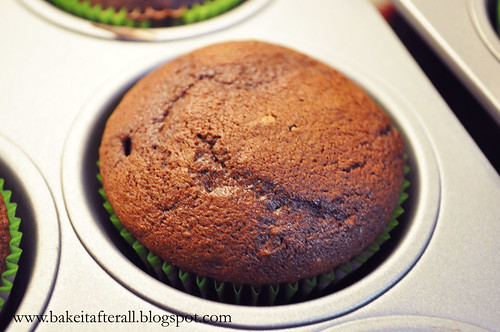
1. Bake cupcakes of choice in gender-neutral cupcake liners. (I chose a boxed chocolate Duncan Heinz cake for convenience and used green liners).

DSC_0692_ed

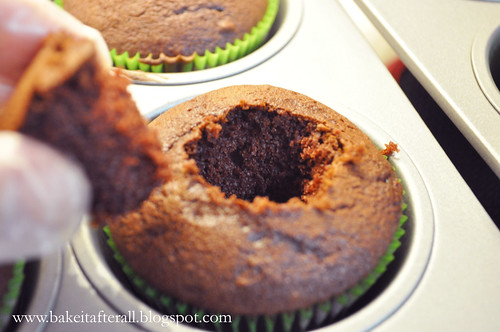
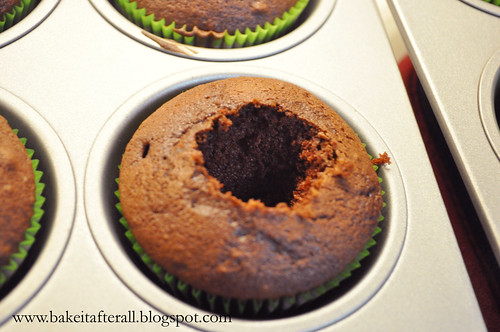
  2. With a small knife, cut out a round, cone shape from the top of the cupcake.

DSC_0696_ed


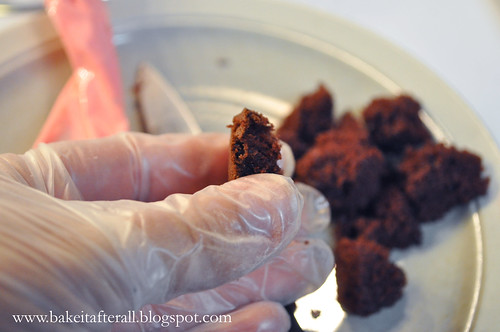
 3. Using the knife, cut the tip off of the small piece of cake you have removed (eat the small tip of cake if you'd like a snack!)

DSC_0697_ed
 

DSC_0700_ed

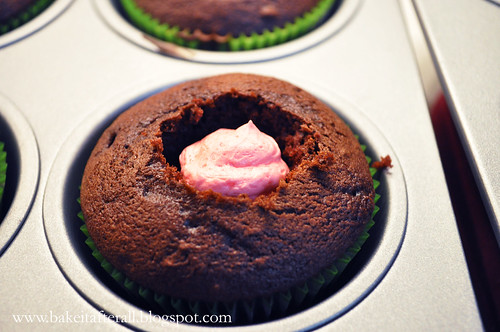
4. Prepare pink or blue buttercream (I used Easy Vanilla Buttercream) and pipe into the hole created when you removed the small piece of cake.

DSC_0701_ed
 

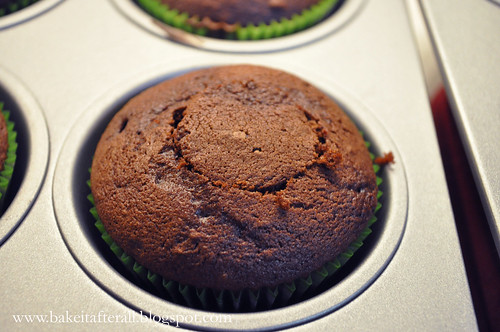
 5. Replace the small piece of cake on top of the buttercream.

DSC_0702_ed
 

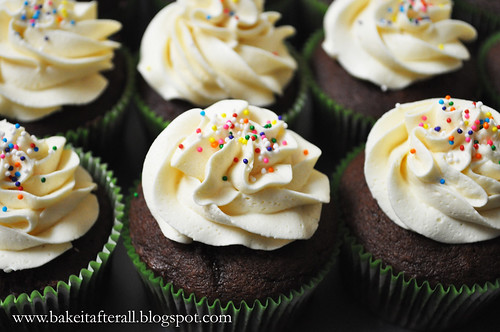
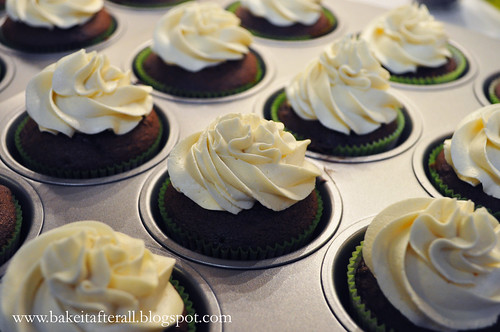
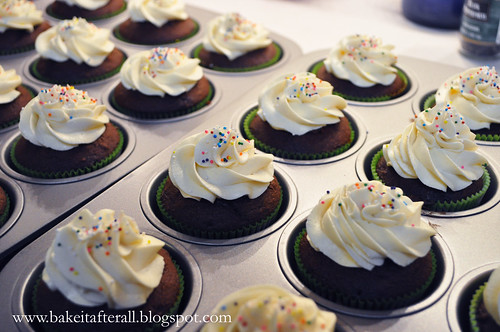
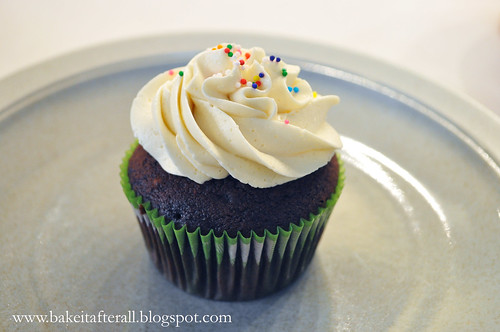
6. Frost and decorate cupcakes as desired. (I used Easy Vanilla Buttercream and gender neutral sprinkles).  


DSC_0703_ed

DSC_0704_ed

DSC_0705_ed


 7. Pass out cupcakes to family/friends.

DSC_0709_ed
 

8. Tell everyone to bite into his/her cupcake to reveal the sex of your baby!

DSC_0724_ed2
 

Wednesday, May 13, 2015

Ava's 2nd Birthday Party - Daniel Tiger

Ava was very into Daniel Tiger around the time of her 2nd birthday. She still likes DT, but has now has an obsession with Disney Princesses that overshadows the little tiger. Ava was still a little young to ask for a birthday party theme, so I chose Daniel Tiger for her.  I was able to find some cute, free printables and party ideas on the PBS Kids website. The bright colors that represent each DT character made it easy to find decorations consistent with the theme.

I used bright tissue paper to make tissue paper poufs and hung them with fishing line from tiny, clear 3M command hooks on the ceiling.  I kept the monthly picture banner from her 1st birthday and added the monthly pictures I took from 13 - 23 months, so every month of her first 2 years was represented above the dessert table.


Yellow boxed cake cupcakes with Easy Vanilla Buttercream and round candy sprinkles:


Pretzel rods dipped in melted orange candy melts (actually found these in the fall- pumpkin spice flavor!) with melted bittersweet chocolate drizzled on top for tiger stripes:


Tiny version of my grandma's butter cookies


I was really nervous about the cake, but I think it turned out really cute. Just a round, single-layer 9-inch boxed yellow cake covered with tinted Easy Vanilla Buttercream:


The trolley and penner banners on top were projects on the PBS Kids website. They provided instructions and free printables to complete:


Ava loved playing with her tiger balloons the day after the party!


Sunday, May 10, 2015

Ava's 1st Birthday Party - Penelope Bird Birthday


I never shared the photos from Ava's 1st Birthday almost 2 1/2 years ago! Her nursery was decorated with Pottery Barn Kids Penelope Birds, so I decided to use that theme for her party. My aunts had made some beautiful table runners and decorations using these birds for my baby shower and let me keep them to use for this party.


The cake was a boxed chocolate cake covered with Easy Vanilla Buttercream. I always used boxed cakes when I'm going to be decorating extensively.  I love how they taste, and they save me time when I know I will need to focus my energy on decorating.

I used royal icing to make the birds - just pipe the shapes onto waxed paper, let dry overnight, and carefully peel off. Store in an airtight container until ready to use.


 Mini-cupcakes made with batter from a boxed cake and topped with Easy Vanilla Buttercream:


 The entire dessert table.  I love how it turned out with the bright, fun colors!


Although she didn't enjoy us singing to her, Ava loved her smash cake!


Tuesday, July 19, 2011

Mexican Chocolate Black Bottom Cupcakes

DSC_0554_2

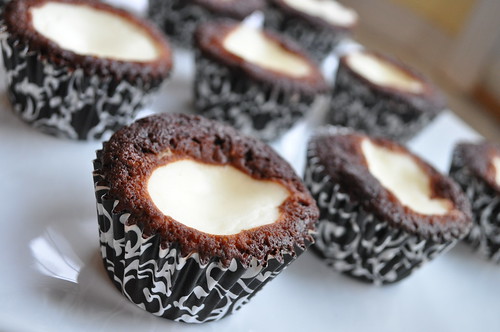
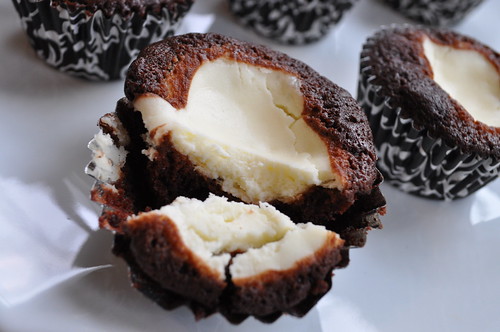
In December I won a giveaway on Nicole's blog Baking Bites. I was so excited to get my package in the mail - 2 bars of Scharffen Berger chocolate and an autographed copy of her Baking Bites cookbook! I immediately wanted to make just about every recipe in the book! One recipe that caught my eye in particular was these Mexican Chocolate Black Bottom Cupcakes. The chocolate batter is mixed with Mexican spices and then a cheesecake/coconut layer is dolloped on top! The recipe makes 24 cupcakes, so I chose to make them for 2 events - lab birthdays and the visit of my two great friends Kathleen and Melissa.

I was really bummed when I finished making these and discovered I had left out the coconut by mistake! In my defense, the recipe in the cookbook said to combine salt with the cream cheese mixture, and there was no mention of coconut. Salt was not listed in the filling ingredients so I just added a pinch and moved forward. It was too late by the time I realized that the coconut was not listed in the directions and I had left it out. Regardless, these cupcakes were fantastic and I can only imagine that they'd be even better with the coconut. I've added it to the directions below.

24 cupcakes is a lot, so I had leftovers after both events and my mom and aunt tried them. My mom said they were the best thing I've ever baked! Wow - did she forget about the dessert table? Just kidding! It's funny how people can have such different tastes because these were not at the top of Bob's list (his all time favorite is the Tres Leches Coconut Cupcakes with Dulce de Leche Buttercream!) I wasn't entirely surprised by Bob's preference though because he's not big on cheesecake (I know - what?!). I thought these cupcakes were super moist and flavorful, and I'm excited to try them again with coconut!

DSC_0560_2

Mexican Chocolate Black Bottom Cupcakes

Yield: 24 cupcakes

Ingredients:
For the cream cheese filling:
16 ounces (2 packages) cream cheese, room temperature
1/2 cup sugar
2 large egg whites, room temperature
2 tablespoons milk
2/3 cup sweetened, shredded coconut, finely chopped

For the cake:
1 1/2 cups all-purpose flour
1/2 cup cocoa powder
1 1/4 cups sugar
1/2 teaspoon salt
1 1/4 teaspoons baking soda
1 1/2 teaspoon ground cinnamon
1/4 teaspoon ground cayenne pepper
3/4 cup buttermilk
1 1/3 cups water
1/2 cup butter, melted and cooled
1 teaspoon vanilla extract
1/4 teaspoon almond extract

Directions:
Preheat oven to 350F. Line two 12-cup muffin pans with paper liners.
1. Make the filling: In a medium bowl, beat together cream cheese and sugar until smooth. Blend in egg whites and milk, mixing until filling is well-blended. Stir in coconut. Set aside.

2. Make the cake: In a large bowl, sift together flour, cocoa powder, sugar, salt, baking soda, and spices.

3. Make a well in the center and add the buttermilk, water, melted butter, vanilla extract, and almond extract. Stir together until just combined and no streaks of flour remain.

4. Divide cake batter evenly among 24 cupcakes. Top each portion of batter with 1 rounded tablespoon cream cheese mixture (there may be some left over).

5. Bake for 20 - 25 minutes. If using two racks, rotate pans halfway through baking. A toothpick inserted into cake only portion should come out with a few moist crumbs on it.

6. Cool in pans for 5 minutes. Filling will sink slightly as the cake cools (I assume this is if you have the coconut in there, as mine did not). Remove cupcakes to wire racks to cool completely.

Source: Adapted from the Baking Bites Cookbook

Thursday, April 14, 2011

Dark Chocolate Cupcakes

DSCN8195_labeled

DSCN8157_labeled

DSCN8181_labeled

DSCN8175_labeled

DSCN8185_labeled

DSCN8186_labeled

DSCN8210_labeled

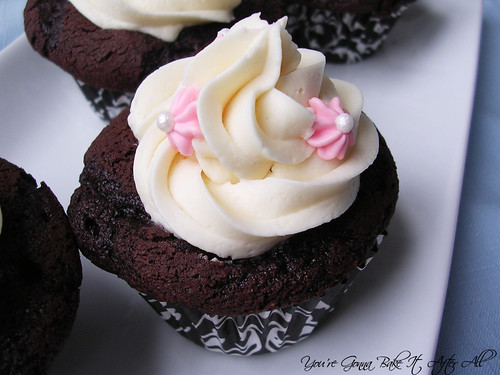
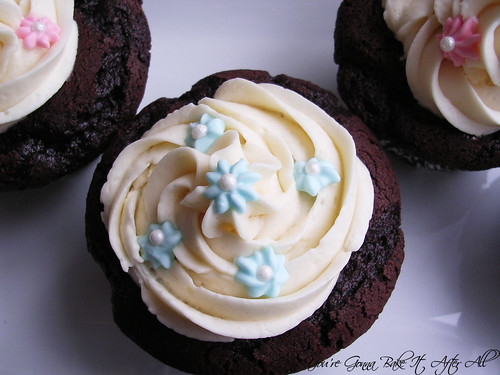
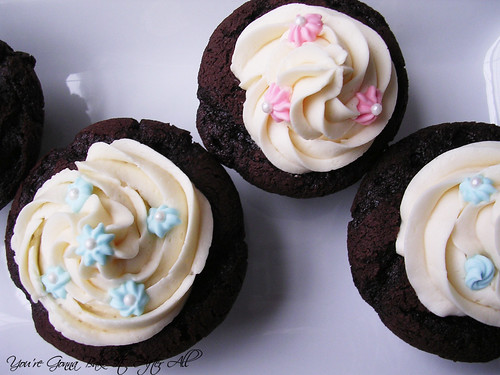
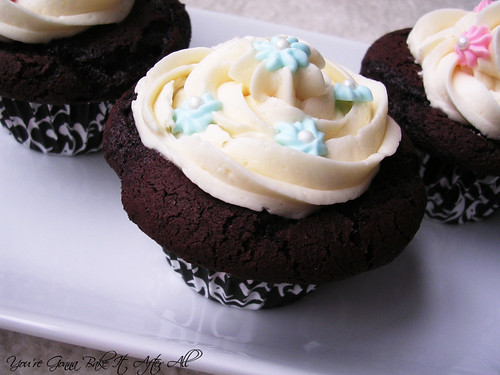
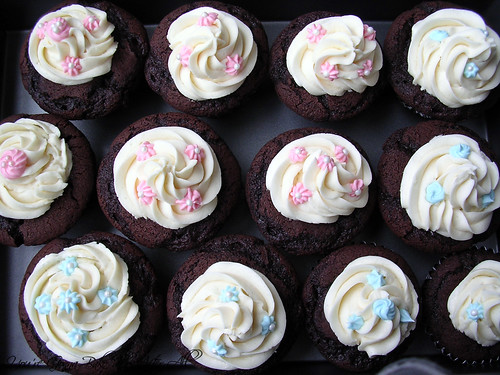
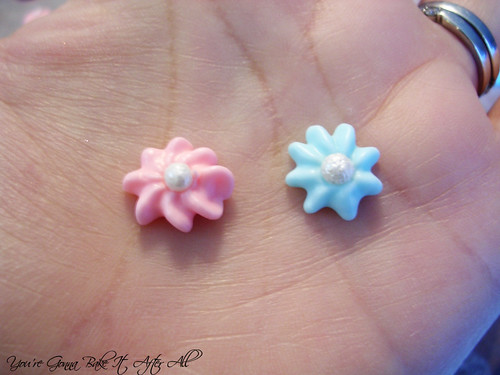
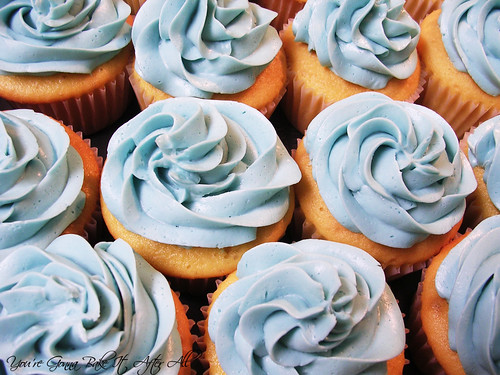
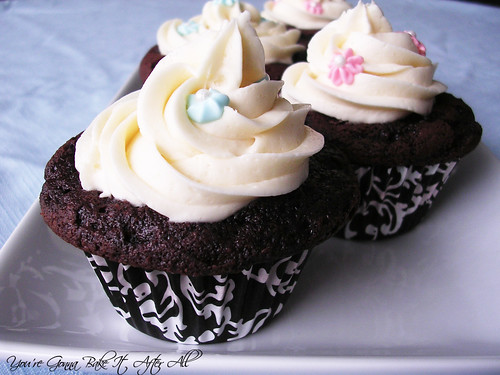
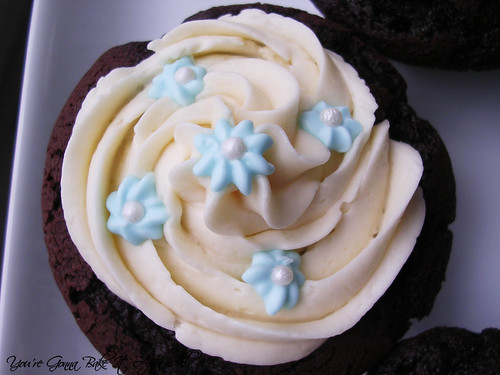
I made these cupcakes for a double baby shower at Bob's work. One woman was having a girl, and one was having a boy, so I decided to make Dark Chocolate Cupcakes with Vanilla Buttercream Frosting and use Royal Icing Decorations to give them blue or pink accents. These cupcakes were really, really good. They are definitely more dense than a box chocolate cake mix; my mom compared them to a chocolate muffin texture, but the flavor is amazing. I would eat them plain! Adding the Vanilla Buttercream made them even better. Bob said these went over very well with his coworkers. I was happy to see how cute the Royal Icing decorations turned out - I have since used this technique again and love the results!

Dark Chocolate Cupcakes

Makes 12 cupcakes; Note: this recipe does not double well; it is best to make two separate batches and bake each separately.

Ingredients:
8 tablespoons unsalted butter, cut into 4 pieces
2 ounces bittersweet chocolate, chopped
1/2 cup Dutch-processed cocoa (1 1/2 ounces)
3/4 cup unbleached all-purpose flour (3 3/4 ounces)
1/2 teaspoon baking soda
3/4 teaspoon baking powder
2 large eggs
3/4 cup sugar (5 1/4 ounces)
1 teaspoon vanilla extract
1/2 teaspoon table salt
1/2 cup sour cream (4 ounces)

Directions:
1. Adjust oven rack to lower-middle position; heat oven to 350 degrees. Line standard-sized muffin pan (cups have 1/2-cup capacity) with baking-cup liners.

2. Combine butter, chocolate, and cocoa in medium heatproof bowl. Set bowl over saucepan containing barely simmering water; heat mixture until butter and chocolate are melted and whisk until smooth and combined. Set aside to cool until just warm to the touch.

3. Whisk flour, baking soda, and baking powder in small bowl to combine.

4. Whisk eggs in second medium bowl to combine; add sugar, vanilla, and salt and whisk until fully incorporated. Add cooled chocolate mixture and whisk until combined. Sift about one-third of flour mixture over chocolate mixture and whisk until combined; whisk in sour cream until combined, then sift remaining flour mixture over and whisk until batter is homogenous and thick.

5. Divide batter evenly among muffin pan cups. Bake until toothpick inserted into center of cupcakes comes out clean, 18 to 20 minutes.

6. Cool cupcakes in muffin pan on wire rack until cool enough to handle, about 15 minutes. Carefully lift each cupcake from muffin pan and set on wire rack. Cool to room temperature before icing, about 30 minutes.

7. Store leftover cupcakes (frosted or unfrosted) in the refirgerator, but let them come to room temperature before serving.

Source: America's Test Kitchen Cookbook

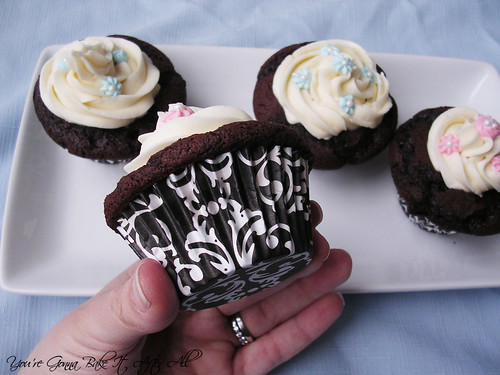
I love these cupcake liners by Reynold's:
DSCN8207_labeled

They have aluminum foil on the inside so the grease doesn't soak through the liner, and the design stays perfect. It also makes it easy to scrape the crumbs off the empty liner, if you like to do that!

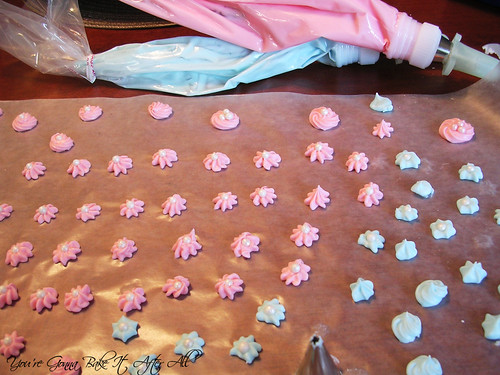
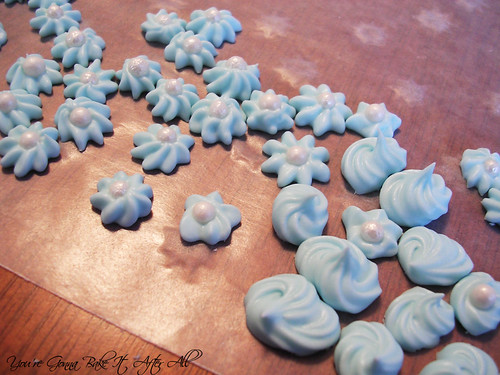
Royal Icing Decorations

Note: this isn't exactly a tutorial on how to make these decorations but rather the steps involved if you are familiar with royal icing.
1. Prepare a batch of Royal Icing.

2. Add very small amounts of warm water to reach a medium consistency.

3. Pipe desired shapes onto waxed paper and immediately add a sugar pearl to the center of the shape, if desired.

4. Allow to try overnight, uncovered.

5. Gently peel off the decorations off the waxed paper and store in an airtight container until ready to use.
DSCN8100_labeled

DSCN8108_labeled

DSCN8113_labeled

Tuesday, March 29, 2011

Easy Vanilla Buttercream

DSCN8143_labeled

DSCN8141_labeled

DSCN8134_labeled

Wow - it has been a long time since I last posted! I have been super busy writing grants for work and hosting my sister's bridal shower!!! I can't wait to share all the details in upcoming posts. For this one event I did my first entirely fondant-covered cake and my first dessert table! I was so pleased with how everything turned out, and my sister loved it, which made all of the work completely worthwhile.

In my last post, I spoke about the 1st birthday party my friends threw for their son. I did his small cake and these cupcakes for the rest of the guests. I used a yellow cake box mix here, and am so glad I did because everyone raved about how light and fluffy the cupcakes were.

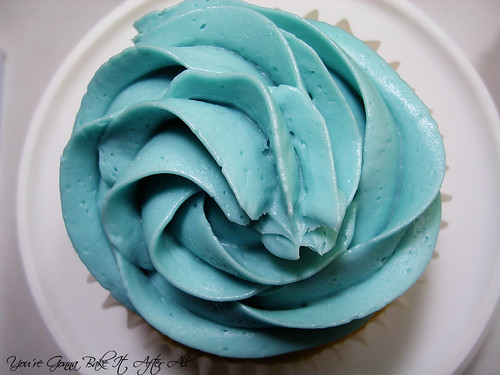
I'm not a huge fan of canned frosting, probably because my aunt makes the best homemade buttercream frosting ever (my grandma's recipe). I have never tried to replicate her recipe since she adds a little of this and a little of that until it's perfect. I decided to turn to the Test Kitchen for this Easy Buttercream recipe. I have to say, it's delicious and very, very easy! It's not quite as light and smooth as Swiss Meringue Buttercream, but takes much less time and was actually preferred over the Swiss version by my husband. This is now my go-to buttercream recipe when I need something quick and delicious.

Easy Vanilla Buttercream

Yield: makes enough buttercream to frost 12 cupcakes or a 1-layer cake; double this recipe for a 2-layer cake

Ingredients:
10 tablespoons unsalted butter, softened
1 1/4 cups powdered sugar (5 ounces)
pinch of table salt
1 1/2 teaspoons vanilla extract
1 tablespoon heavy cream

Directions:
1. In standing mixer fitted with the whisk attachment, beat butter at medium-high speed until smooth, about 20 seconds. NOTE: if using a hand-held mixer, increase mixing times by at least 50%.

2. Add powdered sugar and salt, and beat at medium-low speed until most of the sugar is moistened, about 45 seconds.

3. Scrape down bowl and beat at medium speed until mixture is fully combined, about 15 seconds; scrape bowl, add vanilla extract and heavy cream, and beat at medium speed until incorporated, about 10 seconds.

4. Increase speed to medium-high and beat until light and fluffy, about 4 minutes, scraping down bowl once or twice.

5. Tint frosting with gel food coloring, if desired. Use immediately or store in refrigerator. If refrigerated, allow frosting to come to room temperature before use.
Source: America's Test Kitchen Complete TV Show Cookbook

Monday, February 14, 2011

Vanilla Swiss Meringue Buttercream

DSCN8065_labeled

DSCN8061_labeled

DSCN8038_labeled

DSCN8037_labeled

DSCN8049_labeled


Happy Valentine's Day!!!

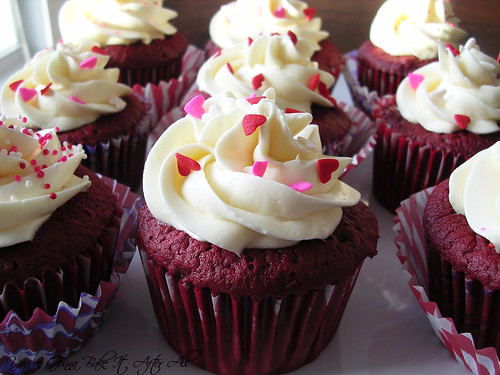
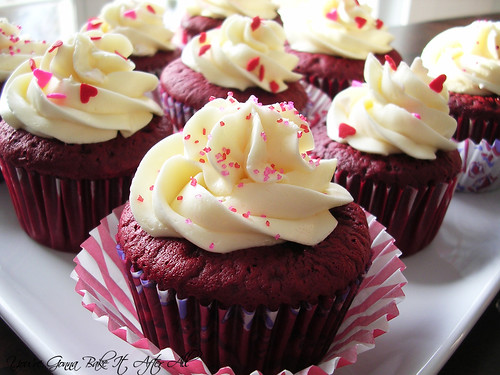
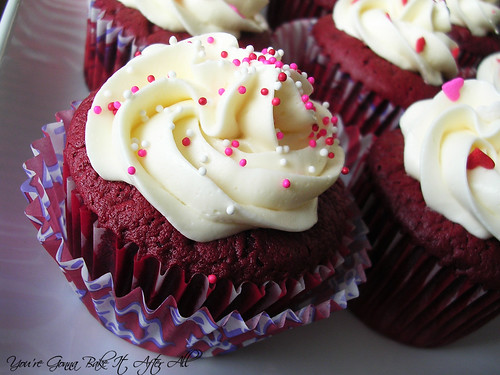
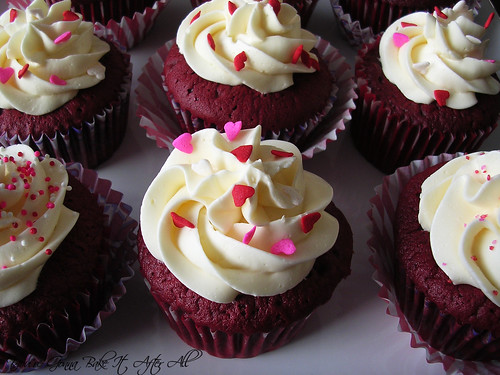
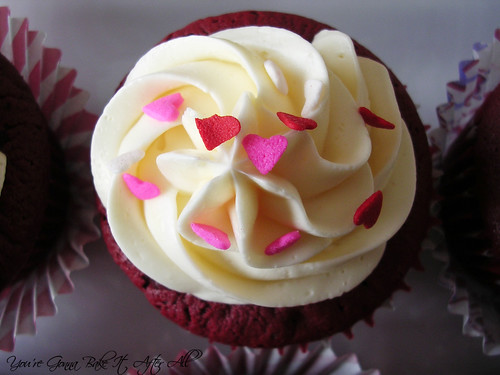
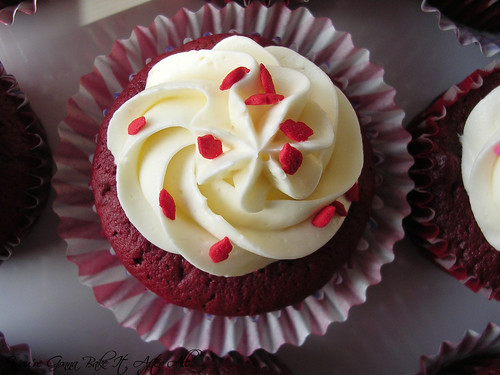
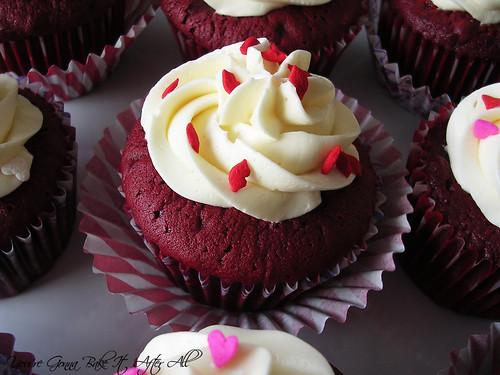
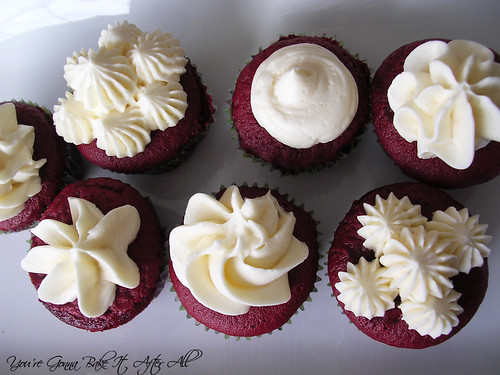
I have wanted to try Swiss Meringue Buttercream for a long time. I have read about it in my Cake Bible and heard about it on America's Test Kitchen. After seeing this buttercream featured on Annie's Eats, I could tell from her pictures that it pipes beautifully. I took a major shortcut and used a boxed Red Velvet Cake mix so I could focus my time on the frosting. It was actually pretty simple to do, just took some time to cook the egg white mixture.
So, how does it taste? Oh.my.gosh this frosting is amazing! It is velvety smooth and buttery, with just enough sweetness. The vanilla flavor really comes through. I made regular sized cupcakes and some mini's as well. I also got to use my Valentine's Day sprinkles! I plan to use this as my go-to frosting from now on!

Lip sprinkles!
DSCN8058_labeled

DSCN8045_labeled

Vanilla Swiss Meringue Buttercream

Makes about 5 cups

Ingredients:
5 large egg whites
1 cup plus 2 tablespoons sugar
pinch of salt
1 pound (4 sticks) unsalted butter, at room temperature
2 teaspoons vanilla extract

Directions:
1. Combine the egg whites, sugar, and salt in a heatproof bowl set over a pot of simmering water. Heat, whisking frequently, until the mixture reaches 160F and the sugar has dissolved.

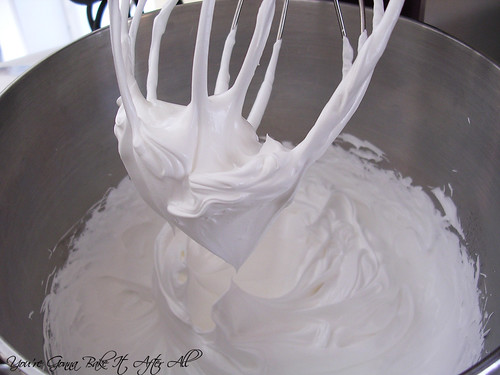
2. Transfer the mixture to the bowl of a stand mixer fitted with the whisk attachment. Beat on medium-high speed until stiff peaks form and the mixture has cooled to room temperature, about 8 minutes.

DSCN7998_labeled
3. Reduce the speed to medium and add the butter, 2 tablespoons at a time, adding more once each addition has been incorporated. If the frosting looks soupy or curdled, continue to beat on medium-high speed until thick and smooth again, about 3 - 5 minutes more - it will come together eventually.

4. Mix in the vanilla extract until just incorporated. Tint with gel icing color if desired.

5. Store buttercream at room temperature if using the same day, or transfer to an airtight container and refrigerate up to 3 days, or freeze up to 1 month. Before using, bring to room temperature and beat with the paddle attachment on low speed until smooth again, about 5 minutes.

Source: Annie's Eats

The mini's!
DSCN8027_labeled

  © Blogger template Brownium by Ourblogtemplates.com 2009

Back to TOP