
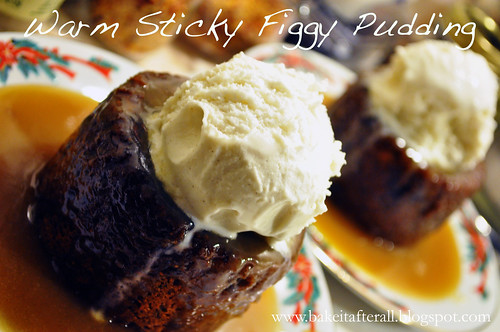
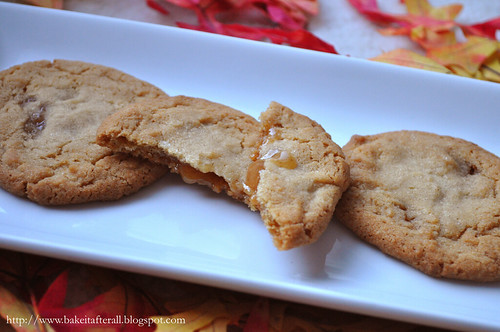
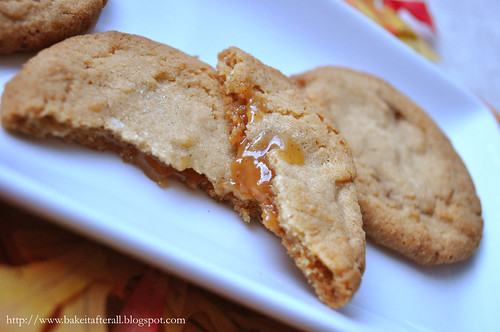
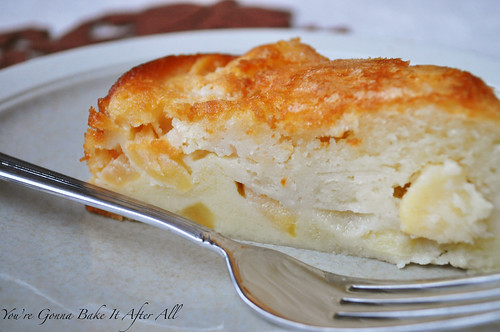
I posted this amazing recipe for Warm Sticky Figgy Pudding two years ago and promised better pictures. I was able to capture some last year so I'm revisiting the recipe today. I make this "pudding" each year for our annual "Dickens Dinner." It quickly became a hit the first year and will remain a staple on the menu.
This is a very rich dessert, and I only make it once a year, but it is SO worth it. The caramel sauce is an absolute must, and really, so is the ice cream.
Ina Garten had a chef friend on her show once who showed her how to make Date Toffee Pudding - the recipe I use is different because it has figs and also flecks of chocolate - to use Ina's own words against her, "how bad can that be?"
Warm Sticky Figgy Pudding
Serves 4
Ingredients:
For the pudding:
¾ c. dried pitted dates, chopped
¼ c dried figs, chopped
1 c. water
½ tsp baking soda
3 ½ tablespoons butter, softened
½ c superfine sugar
1 egg
1 ¼ c. self-rising flour
1 ¼ oz. dark chocolate, grated (I use Ghiradelli bittersweet chips)
Butter for the ramekins
For the sauce:
1 c. brown sugar
1 c. heavy cream
7 tablespoons butter
For serving:
Vanilla ice cream or whipped heavy cream (optional)
Directions:
1. Add the dates, dried figs, and water to medium saucepan and bring to boil over medium heat. Remove the pan from heat and stir in the baking soda. Let cool for 5 minutes, then add to a blender to puree.
2. Using a hand or stand mixer, cream the butter and sugar in a large bowl. Add the eggs and beat well. Fold in the flour, the pureed date mixture, and the chocolate.
3. Pour the batter into buttered ramekins filling halfway. I divided the batter equally into 4 ramekins. (At this point, I wrap the ramekins in plastic wrap and take them to my sister's house, refrigerate them during dinner, then bake them. They turn out perfect! You may bake them immediately if that works with your schedule.)
4. Bake at 350F for 20 – 25 minutes.
5. To prepare the sauce, stir the sugar and cream in a medium saucepan over low heat. Simmer until the sugar dissolves. Raise the heat to a boil, then reduce and simmer 5 minutes. Add the butter and stir until incorporated. (I make this at home and take it to my sister's. Then I reheat the sauce prior to spooning it over the cakes).
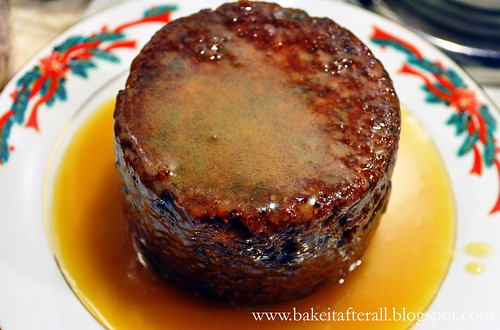
6. Remove the ramekins from the oven and let stand for 10 minutes. Serve in the ramekin or unmold each cake onto a serving plate. With a paring knife, cut a cross in the center of each cake. Pour the sauce over the pudding and allow it to soak in slightly, then top with more sauce as desired.
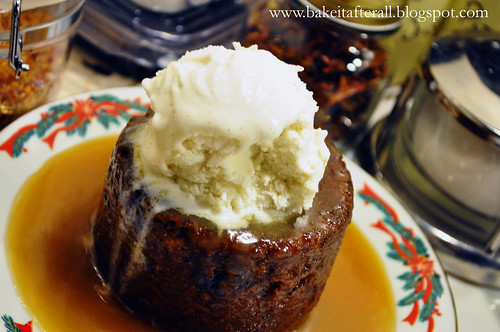
7. Serve warm topped with ice cream or whipped cream and enjoy! I highly recommend vanilla ice cream :-)
Source: Adapted from FoodNework.com – Ultimate Recipe Showdown
Note: The original recipe said it serves 4, but the reviews said it made much more so I cut the recipe in half and it was just right for 4 servings (meaning the recipe on FoodNetwork probably makes 8 servings rather than 4!)


