Bob and my dad both LOVE cherries, so for Father's Day several years ago, I made these Roasted Cherry Brownie Sundaes with a Cherry-Port Sauce. We all thought they were great, especially the Cherry-Port Sauce. I didn't save the recipe because I knew the source, but as I went back to the blog to retrieve it (years later at this point) the ingredient list is missing. I hunted around and found a similar recipe that I've included below. The amounts sound familiar so I'm going with it. I'm glad I remembered this recipe because it needs to be made again soon!
Roasted Cherry Brownies
Ingredients:
1/2 pound fresh cherries, stems and pits removed, cut in half or quartered
1/4 cup port wine
Your favorite brownie mix (such as Ghiradelli Dark Chocolate Brownies)
Ingredients to prepare brownie mix according to package directions (oil, eggs, water, etc.)
Directions:
Preheat oven to 425F.
1. Place cherries in a small baking dish with the port. Roast for 30 minutes, until the cherries are very soft and the port has slightly reduced (you'll have 2 - 3 tablespoons of liquid). Set the cherries aside to cool.
2. Meanwhile, prepare brownies according to package directions, reducing oven heat according to your brownie recipe.
3. As the last step in making the brownie batter, stir in the cherries and accumulated juices and then transfer to the baking pan. Bake until a knife inserted in the center of the brownies comes out with moist crumbs attached.
Source: Confections of a Foodie Bride (now called The Brewer and the Baker)
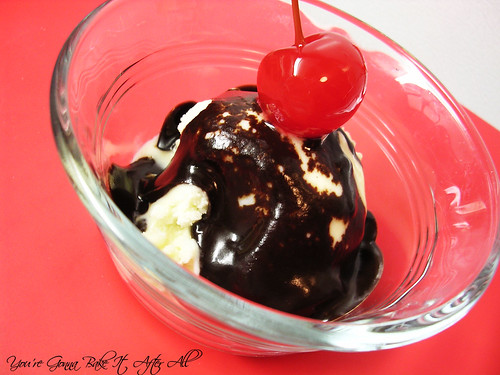
Brownie Sundaes with Cherry-Port Sauce
Ingredients:
1 pound fresh cherries, stems and pits removed, and coarsely chopped
1 cup port wine
3/4 cup sugar
Brownies - from a homemade recipe or boxed mix (such as the Roasted Cherry Brownies above)
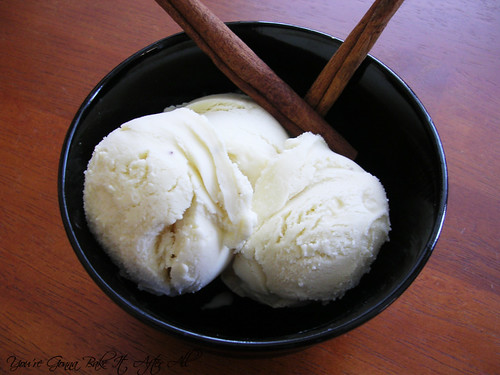
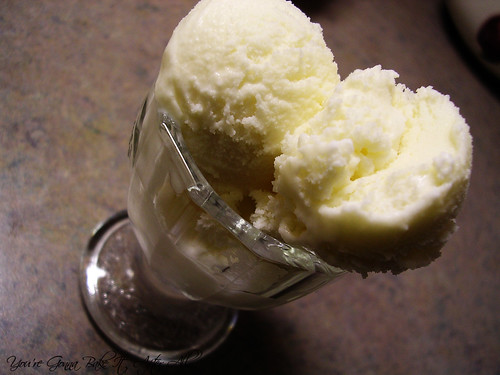
Vanilla ice cream - homemade or store bought
Directions:
1. Add the cherries to a small saucepan with the port and sugar, cooking over medium-high until it begins to boil.
2. Reduce heat to medium and simmer for 35-40 minutes, until very thick and syrupy.
3. Serve brownies topped with a scoop of ice cream and a spoonful of warm cherry-port sauce.
Leftover sauce will keep in the fridge for several days, serve rewarmed.
Source: Confections of a Foodie Bride (now called The Brewer and the Baker) and The Gilded Fork