
In the interest of time (i.e. days until Christmas!), I'm tacking on some Truffle Tips to the end of this post, so scroll down if you've ever had trouble dipping truffles!

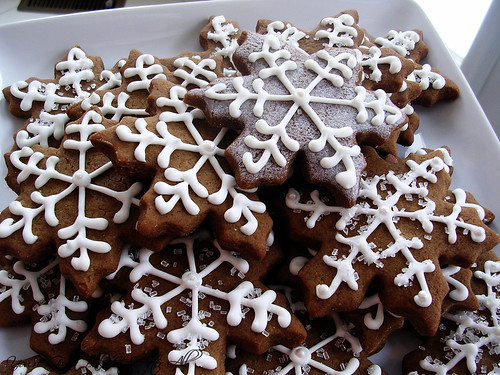
As a child, I always thought Gingerbread Cookies, specifically Gingerbread "people" were so cool, probably because we didn't make gingerbread cookies as part of our Christmas baking tradition. One year, my sister and I convinced my mom to buy a box mix of gingerbread, and we made the cookies. We loved them and had so much fun decorating them. They are one of those cookies that I never considered making from scratch, that is until I saw them two years ago on the blog Good Things Catered. Katie made such beautiful snowflakes that I promptly saved the recipe and planned to make them the next year. Seeing them featured on Annie's Eats last December reminded me about this recipe that I had forgotten, and I made a point to remember this year!
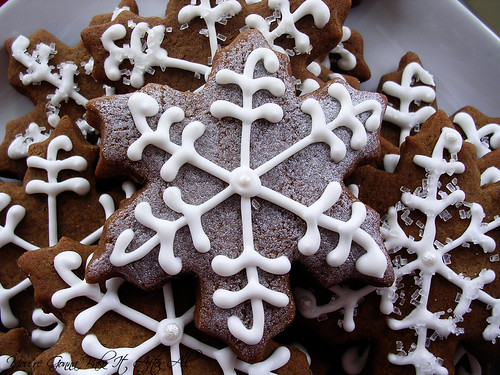
I had so much fun decorating these because they are so pretty! I decided to use sparkly sugar, candy pearl balls, and even some edible shimmer. I had my favorite kitchen helper, my sister Lisa, who did the majority of decorating. This recipe makes a TON of cookies! I served them at the Holiday Party, took some to work, and froze a bunch for later. Some people commented that they were too pretty to eat but were glad when they did because they're delicious!
Gingerbread Cookies
Ingredients:
4 cups all-purpose flour
1 teaspoon salt
1 1/2 teaspoons baking powder
1/2 teaspoon baking soda
1 teaspoon ground cinnamon
1 1/2 teaspoon ground cloves
2 teaspoon ground ginger
1 teaspoon ground nutmeg
1 cup (16 tablespoons) unsalted butter, at room temperature
1 cup sugar
1 cup molasses
1 large egg
Directions:
1. In a large mixing bowl, whisk together the flour, salt, baking powder, baking soda, and spices to combine; set aside.
2. In the bowl of a stand mixer fitted with the paddle attachment, cream the butter and sugar on medium-high speed until light and fluffy, about 2 minutes.
3. Mix in the molasses and egg until combined. Add in the dry ingredients and mix just until incorporated. Cover the bowl and chill the dough for at least one hour.
4. Preheat the oven to 350F, and line baking sheets with parchment paper.
5. Roll the dough out on a lightly floured work surface to about 1/4-inch thickness. Cut into desired shapes with cookie cutters.
6. Place the cookie shapes onto the prepared baking sheets, about 2 inches apart. Bake for 10 minutes, rotating the pans halfway through baking.
7. Remove from the oven and let cool on the baking sheets for 10 minutes. Transfer to a wire cooling rack and let cool completely.
8. To decorate, brush cookie with edible shimmer or leave plain, then use Royal Icing to pipe on designs. Sprinkle with large-grain sugar and/or add pearl balls, if desired.

Source: Annie's Eats, originally from Good Things Catered
And now for some Truffle Tips:
First you need to get your chocolate the right consistency for dipping. While you can melt the dipping chocolate in the microwave, I prefer to melt it in a double boiler (or in a glass bowl set over a pan of barely simmering water - make sure water does not touch bottom of bowl). This way, the chocolate is continuously heated during the dipping process. Melt the chocolate and add a little vegetable shortening (Crisco) - this really helps thin out the chocolate. You can start with a teaspoon of shortening and keep adding a little more - maybe a total of a tablespoon depending on how much chocolate you are using. Basically, you want the chocolate to be thin enough so that dipping isn't a pain in the butt. I've read that vegetable oil works similarly, but I've never tried it.
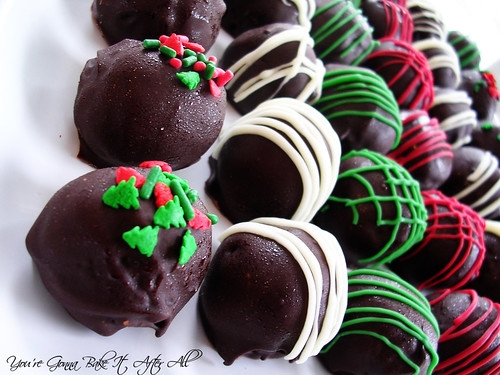
Next, determine a method for dipping that works well for you. The way I found that worked best was to drop the formed truffle into the chocolate, one at a time, roll it around gently with two forks, then use only one fork to life it out, shaking off the excess chocolate as you lift up, then transfer the coated truffle to wax paper by gently sliding the truffle off the fork. To be clear, the fork does not stab the truffle, it is just use like a "fork-lift" if you will. This should help reduce the excess chocolate running off the truffle as it sits on the wax paper and pools at the bottom, making it look like a big blob.
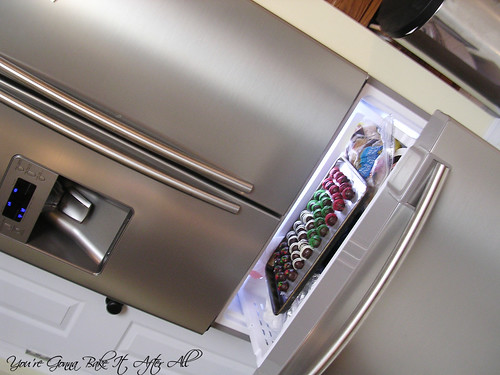
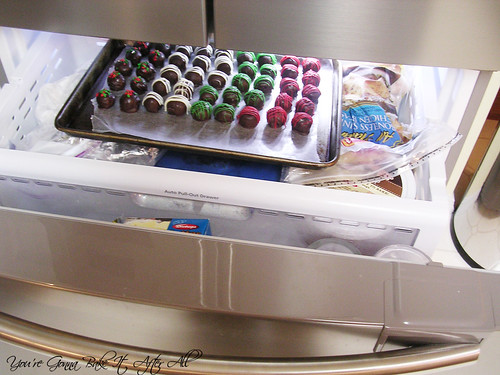
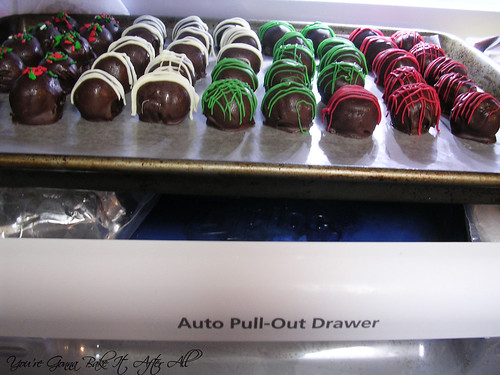
One other thing that might make the process easier is freezing the truffles (even if just for 30 minutes) before you dip them in chocolate; I did this with the cookie dough truffles, but not the Oreo, but I might try it next time. I made my truffles all the way through, then froze them for a week before the party - they turned out perfect! In fact, and I'm a little embarrassed to admit this, but I actually chose our particular fridge/freezer partly because it's conducive to freezing trays of candy!
One other thing that might make the process easier is freezing the truffles (even if just for 30 minutes) before you dip them in chocolate; I did this with the cookie dough truffles, but not the Oreo, but I might try it next time. I made my truffles all the way through, then froze them for a week before the party - they turned out perfect! In fact, and I'm a little embarrassed to admit this, but I actually chose our particular fridge/freezer partly because it's conducive to freezing trays of candy!
In my experience, chocolate is much easier to work with than white chocolate (and tastes better in my opinion!), so from now on I mostly plan to use white chocolate for the design on top rather than dipping the whole truffle. But, the easiest way to melt white chocolate is the same exact way - double boiler and Crisco to thin. You can also do it in the microwave, but it's more difficult to control the temperature, and white chocolate is more prone to seizing up in my hands.
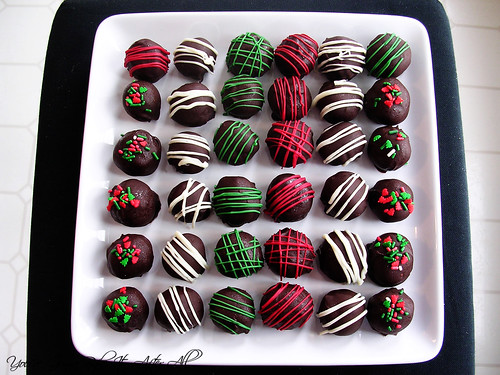
When I do the designs on top, I just put the melted chocolate into a small resealable sandwich bag and snip off a corner. You can use a pastry bag of course, but I find that I can get enough control out of a sandwich bag without having to clean a pastry tip and coupler!
Happy Candy Making!!!


Thanks for the props on the gingerbread cookies!
ReplyDeleteLove the tips--I have always had trouble when it comes to dipping truffles. I'll keep the double boiler hint in mind for next time!
ReplyDeleteI made this recipe too and they were so tasty - I'll definitely be making them again! Your truffles look perfect too!
ReplyDelete