Search This Blog

Tuesday, September 14, 2010

Baked Southwestern Egg Rolls

DSCN6879_labeled

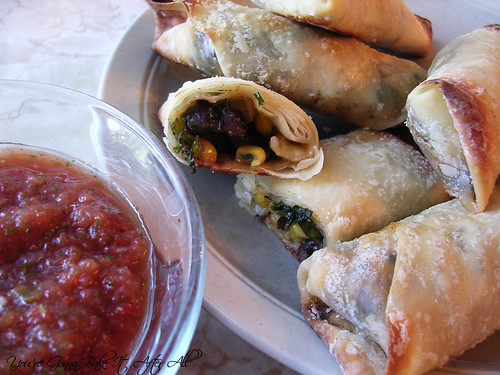
I love the Southwestern egg rolls served at a popular chain restaurant, but I know how horrible they must be nutrition-wise! I was so excited to see this recipe for Baked Southwestern Egg Rolls. I love to take otherwise unhealthy restaurant dishes and turn them into much healthier versions.

I took these to a Trivia Night sponsored by my cousin's company to benefit the Muscular Dystrophy Association. These were a great addition to the treats our table brought, which I'm sure were critical to our team's taking home the 1st place award!

I've never worked with store-bought egg roll wrappers before, but they are so neat! I have so many ideas of fillings for these - both savory and sweet. These are great leftover too.

Baked Southwestern Egg Rolls

Ingredients:
2 cups frozen corn, thawed
1 15-ounce can black beans, rinsed and drained
1 10-ounce package frozen chopped spinach, thawed and squeezed dry
2 cups shredded Mexican cheese blend
1 4-ounce can diced green chiles, drained
4 green onions, chopped
1 teaspoon ground cumin
1/2 teaspoon chili powder
1 tsp. salt
1/2 teaspoon pepper
1/4 teaspoon cayenne pepper
egg roll wrappers (about 24 total)

Directions:
Preheat oven to 425F.
1. In a large bowl, combine everything but the egg roll wrappers. Mix well to blend.

2. Lay an egg roll wrapper out on a work surface so that one of the corners is pointing toward you and place 1/4 cup of the filling in the center. Fold the tip closest to you up over the filling, roll a bit, then take the points pointing outward (to the sides) and fold them in toward the center. Continue rolling into an egg roll shape until a small part of the remaining point is still free. Dip a finger in water or beaten egg and lightly brush on the edges of the free corner. Finish rolling and press to seal closed. Repeat with the remaining wrappers and filling.

3. Lightly oil a baking sheet with cooking spray. Place the sealed egg rolls on the baking sheet seam side down and spray the tops of the egg rolls with cooking spray. Bake for about 15 minutes, or until lightly brown, turning halfway through baking. Serve warm with salsa.

Source: Annie's Eats

Wednesday, September 8, 2010

Citrus-Glazed Butter Cookies

I hope everyone had a great Labor Day weekend! Bob and I hit up the Labor Day sales to buy some furniture for our new house. All I have been thinking of lately is furniture! So many decisions! Meanwhile, I was invited to do a product review for CSN Stores, and what is one of the focus of one of the many CSN stores - furniture! I have been browsing all of their kitchen tables and dining room sets to get a good idea of the styles we like. I even Googled "dining rooms" recently and CSN Stores came up!

As we get closer to Closing Day for our home, things are getting busier. Have I even started packing yet? NO!

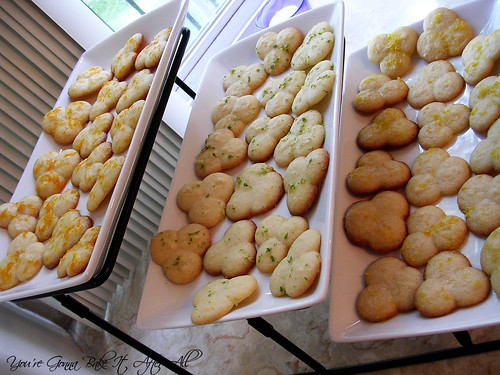
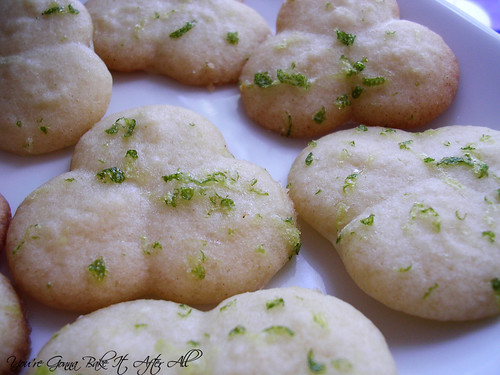
I wanted to share this quick recipe with you because it was a huge hit at the "Hello and Goodbye" party we held a few weeks ago. I have had this idea for a very long time, and finally forced myself to make it happen. The big Whole Foods in Chicago sells these incredibly delicious lemon-glazed butter cookies made at a local bakery - they tasted very much like my grandma's butter cookies with a lemon glaze. So, I figured why not try glazing my grandma's butter cookies with different citrus glazes - lemon, lime, and orange to be exact. The result - a delicious, citrusy, buttery cookie! These cookies are normally a little hard in texture but the glaze made them softer. Overall, the favorite citrus glaze of the night (because I asked of course!) was lime. I was a bit surprised but certainly agreed. The lemon and the lime were in close running, with the orange slightly behind because we decided it didn't have as prominent a flavor.

The glazing is as simple as can be and adds a new flavor and color to already amazing cookies!


DSCN6853_labeled

DSCN6847_labeled

DSCN6842_labeled

DSCN6845_labeled


Citrus-Glazed Butter Cookies

Ingredients:
1 cup powdered sugar, divided
1 lime, small
1 lemon, small
1 orange, small

Directions:
1. Prepare butter cookies as directed and let cool completely on wire racks.

2. Place 1/3 cup powdered sugar in each of 3 bowls. Grate some of the zest of each fruit into each bowl - the amount varies by personal preference, but I believe I used the zest from the whole lemon, the whole lime, and half of the orange.

3. Juice the lime, lemon, and orange separately.

4. Add each citrus juice to each bowl, a little at a time, stirring to observe consistency. You would like the glaze to run off the back of the spoon - not too thick. I used approximately the juice of 1 small lemon, 1 small lime, and 1/2 small orange - although I held back a little juice from each. This will depend on how 'juicy' your fruit is!

5. Place waxed paper under cookies on wire racks. Spoon glaze over cookies, making sure to distribute zest as evenly as possible. Let dry for several hours. Serve or store in an airtight container.

Source: Glaze adapted from Mini Baker


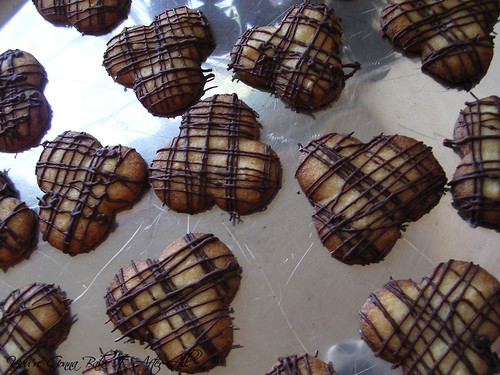
Some of the cookies got a little more done that I'd like, so I drizzled them with chocolate. These went fast!

DSCN6866_labeled

DSCN6864_labeled

Wednesday, August 25, 2010

Cookie Dough Truffles

DSCN6858_labeled

DSCN6861_labeled

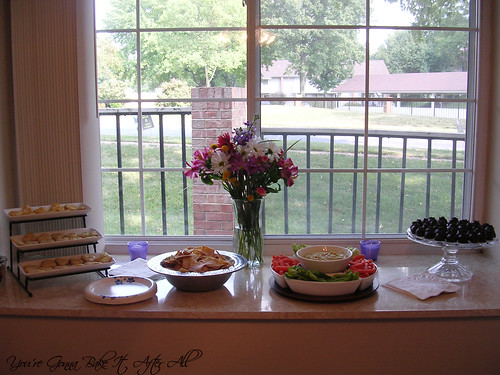
Bob and I threw an appetizers and desserts party at our townhouse on Sunday night. We called the party "Hello and Goodbye" to allow our friends and family to say "hello" and "goodbye" to our townhouse before we start packing up for the move to our new home. Everyone was asked to bring their favorite appetizer or dessert to share, and I made a few that I've been wanting to try forever.

Here's a picture of my contributions to the party (more recipes to come!):
DSCN6867_labeled

I've been wanting to try these Cookie Dough Truffles for a long time. I LOVE cookie dough - seriously I'd eat a whole batch of it right out of the bowl. The great thing about these truffles is that they don't contain raw eggs. I know my pregnant and nursing guests appreciated that!

I thought these truffles tasted amazing! They were a bit more work than I anticipated, but I've indicated some tips in the recipe below. I know at least one reader who had some trouble with chocolate-dipping the Oreo Truffles, so hopefully these tips will work for those as well.

Cookie Dough Truffles

Ingredients:
8 tablespoons unsalted butter, at room temperature
3/4 cup light brown sugar, packed
2 1/4 cup all-purpose flour
1-14 ounce can sweetened condensed milk
1 teaspoon vanilla extract
1/2 cup mini semisweet chocolate chips
1 1/2 pounds semisweet (or bittersweet) chocolate, coarsely chopped
Vegetable shortening (optional)
Mini chocolate chips (for garnish)

Directions:
1. Combine the butter and sugar in a mixing bowl and cream on medium-high speed until light and fluffy, about 2 minutes.

2. Beat in the flour, sweetened condensed milk, and vanilla until incorporated and smooth. Stir in the chocolate chips. Cover with plastic wrap and refrigerate until the mixture has firmed up enough to form balls.

3. Shape the chilled cookie dough mixture into 1-1½ inch balls. Place on a baking sheet lined with wax paper. Cover loosely, transfer the pan to the freezer and chill for 1-2 hours.

4. When ready to dip the truffles, melt the chopped chocolate in a heatproof bowl set over a pot of simmering water or very carefully in the microwave. The key to easily dipping the truffles is to the correct consistency of chocolate - make sure your chocolate melted is fairly thin. Mine was not, so I added tiny amounts of vegetable shortening (Crisco) to achieve the correct consistency. I think I added about a tablespoon to the chocolate mixture, perhaps a tad more.

5. Dip each chilled truffle, one at a time, coating in chocolate and shaking gently to remove the excess. (My aunt helped with this part!) To facilitate dipping, we took a wooden kabob skewer and used it to pick up a truffle, then swirled the truffle in the chocolate, then transfered the dipped truffle to a wax-paper lined surface. We twisted the skewer back and forth to remove it from the truffle. You can also use a fork to help remove the skewer. The optional mini-chocolate chip garnish will hide any imperfections left behind. Alternatively, you can use two forks to roll the truffle around in the chocolate and then, lifting the truffle out with the forks, let the excess chocolate run off. Note: If at any point during dipping, the cookie dough balls become too soft, return to the freezer to chill for 30 minutes. If using mini chocolate chips for garnish, sprinkle on top quickly after dipping each truffle before the chocolate sets.

6. Once all the truffles have been dipped, store them in the refrigerator (or freezer) until ready to serve.

Source: Adapted from Annie's Eats

Thursday, August 19, 2010

French Vanilla Ice Cream

DSCN6833_labeled

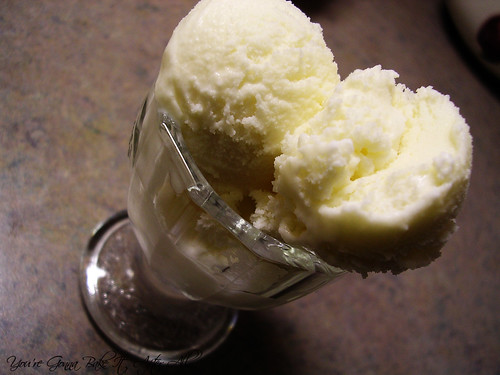
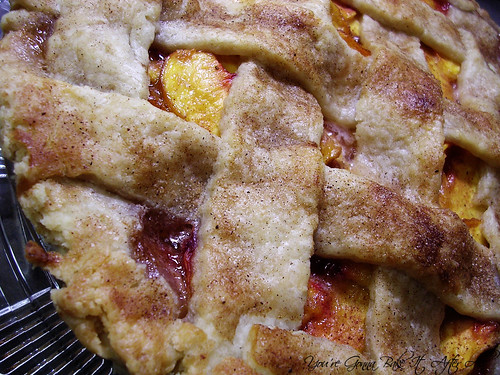
Although July in St. Louis tends to get unbearably hot, especially this year, it's also the month when one of my favorite fruits reaches its peak - peaches! A local farm sells the best peaches around, and each year I look forward to a fresh peach pie. And what is best served alongside a fresh peach pie? Vanilla ice cream of course! My dad has been asking why I haven't made him any ice cream this summer, so this was the perfect opportunity.

I turned to my trusty Ben & Jerry's Homemade Ice Cream & Dessert Book for this one, and it turned out fantastic. Ultra-creamy with a nice, pronounced vanilla flavor. This recipe uses raw eggs, so avoid if you fall in a high-risk group for food-borne illness, but if you're not and it doesn't bother you, the eggs add a nice richness to the ice cream. I would think that the equivalent amount of a pasteurized egg substitute might work as well, but I'm not certain.

French Vanilla Ice Cream

Ingredients:
2 large eggs
3/4 cup sugar
2 cups heavy or whipping cream
1 cup milk
2 teaspoons vanilla extract

Directions:
1. Whisk the eggs in a mixing bowl until light and fluff, 1 to 2 minutes. Whisk in the sugar, a little at a time, then continue whisking until completely blended, about 1 minute more. Pour in the cream, milk, and vanilla and whisk to blend.

2. Transfer the mixture to an ice cream maker and freeze following the manufacturer's instructions.

Makes 1 quart

(Serve with fresh peach pie!)

DSCN6827_labeled

Source: Ben & Jerry's Homemade Ice Cream & Dessert Book

Thursday, August 12, 2010

Caprese Salad Skewers

DSCN6704_labeled

DSCN6708_labeled

DSCN6707_labeled

DSCN6713_labeled

I have some big news to share - we bought a house!!! It actually happened the same week as our "house heart-break." We were able to move past that and ended up finding a great house that suits us well. Within a few hours of making the offer, the sellers had countered, and we had accepted. We were able to get a 60-day escrow so we don't overlap with our current lease, so we close September 17. We are really excited! I waited until after the inspection to announce it, so hopefully we won't have any snags along the way.

Because we are no longer spending every week night house hunting, I've felt a little more up for cooking, so hopefully the pace of my posts will pick up a bit :)

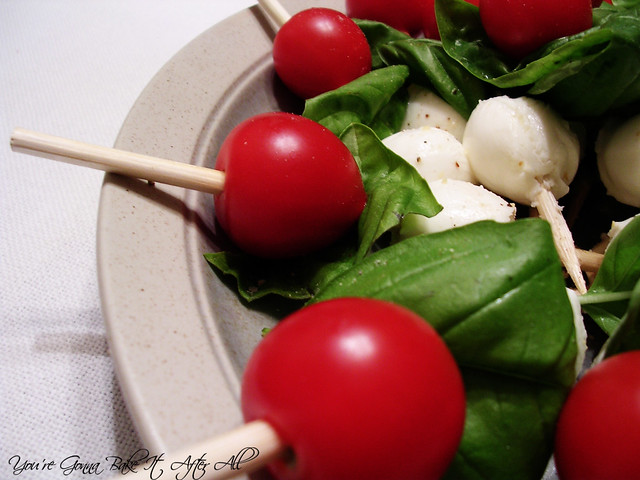
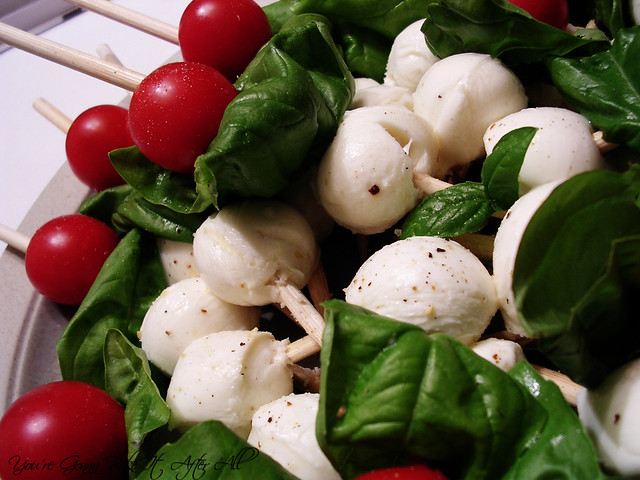
I actually made this fun appetizer to take to a work potluck several weeks ago. I saw the idea on some blogs last summer and have wanted to try it ever since. The concept is so simple that it doesn't really require a recipe, rather just a list of ingredients and basic instructions. So here goes:

Caprese Salad Skewers

Ingredients:
Cherry tomatoes
Fresh mozzarella balls (or cubes)
Fresh basil leaves
4 - 6" wooden skewers
Garlic pepper/salt, optional
Balsamic vinegar
Extra virgin olive oil

Directions:
Assemble tomatoes, mozzarella, and basil on skewers. Sprinkle with garlic pepper/salt (I used a McCormick grinder), to taste. Chill until ready to serve. Offer balsamic vinegar and olive oil while serving.

Monday, August 9, 2010

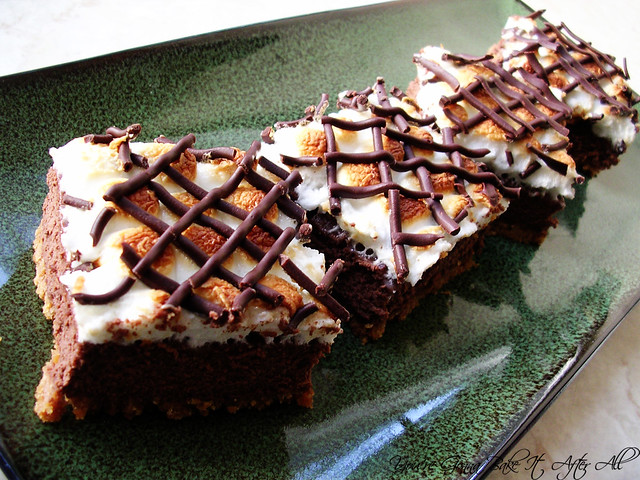
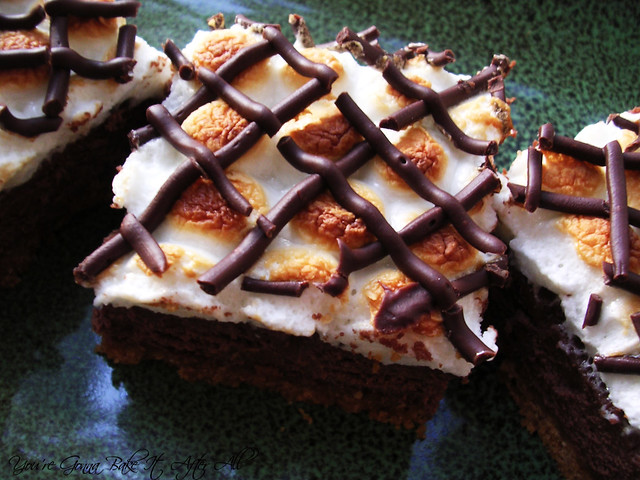
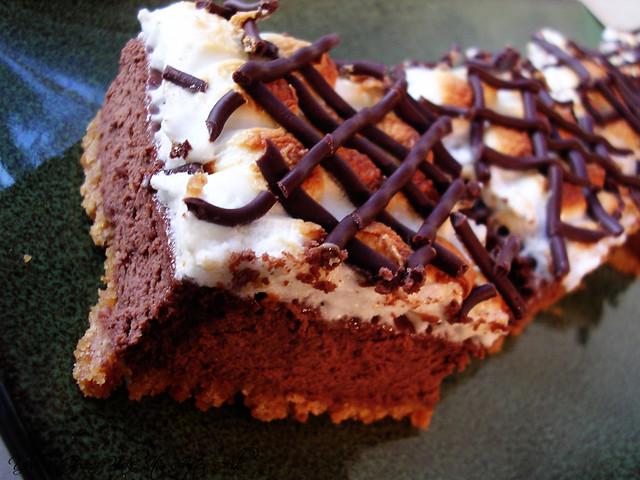
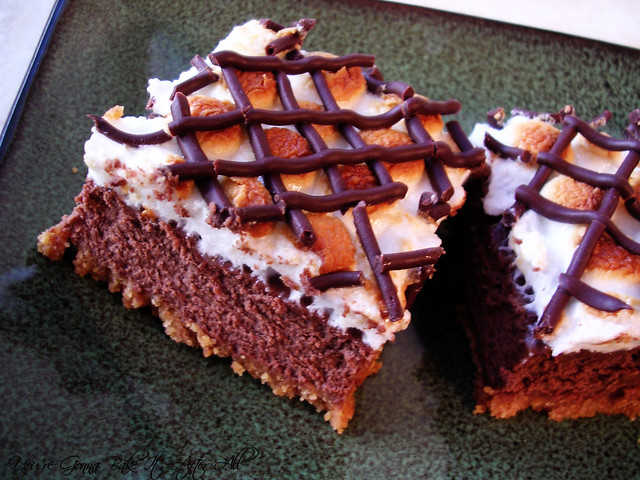
S'mores Cheesecake Bars

This is pretty much all I've been baking lately . . .


One of my labmates told me about this cartoon, and I couldn't resist. If you've ever done lab research before (Kerstin!), you probably enjoyed this cartoon!


DSCN6746_labeled

DSCN6758_labeled

DSCN6739_labeled

DSCN6737_labeled

DSCN6749_labeled

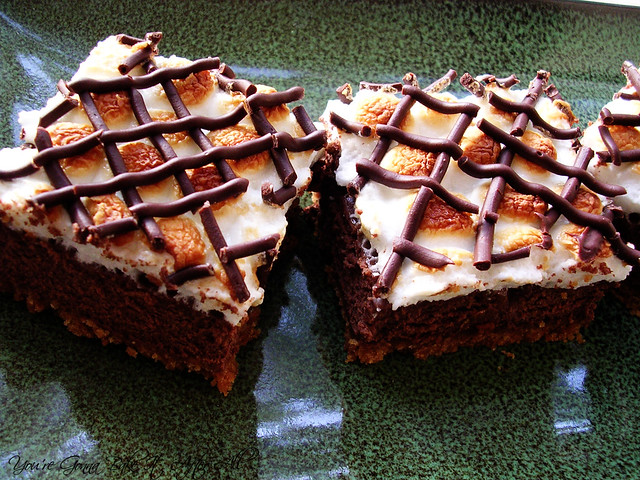
Our lab had a potluck dinner two weeks ago, and I decided to bring dessert. While I have about a million dessert recipes just waiting to be made, this one popped into my head. It just screams summer to me - anything S'mores makes me think of camping, and we've actually made S'mores several times this summer while waiting for our charcoal briquets to burn out. Bars are a great dessert to take to a party because people can just grab them.

These bars were pretty simple to make and definitely worth the effort. I'm convinced that placing the marshmallows on by hand in perfectly aligned rows will fulfill the OCD tendency in anyone! Everyone at the party who tried these really liked them, and they were so impressed with the presentation. This is one of those desserts that looks much harder that it is, which is always a nice surprise. The original recipes makes an 8 x 8-inch pan, but since there we going to be about 20 people at the party, I doubled it and used a 13 x 9-inch pan. The bars slice very cleanly as long as you wipe off the knife (or pizza chopper) between cuts.

I promise another post this week!!! :)


S'mores Cheesecake Bars

Ingredients:
For the crust:
2 cup graham cracker crumbs
2 tablespoons sugar
8 tablespoons unsalted butter, melted

For the cheesecake:
8 ounces bittersweet or semisweet chocolate, finely chopped
16 ounces cream cheese, at room temperature
1/2 cup sour cream
1 cup marshmallow cream
4 teaspoons cocoa powder
1/2 tablespoon vanilla extract
4 large eggs

For the topping:
3 cups mini marshmallows
Milk chocolate chips, melted (optional)

Directions:
1. Preheat the oven to 350F. Line a 13 × 9-inch baking pan with foil; spray lightly with cooking spray.

2. To make the crust, combine the graham cracker crumbs, sugar, and melted butter in a small bowl. Stir together with a fork until well combined. Press the mixture in an even layer into the bottom of the prepared baking pan. Bake 10 minutes; transfer to a wire rack while you prepare the filling. Reduce the oven temperature to 325F.

3. To make the filling, place the chopped chocolate in a heatproof bowl set over a pan of simmering water. Heat until melted and smooth, stirring occasionally. Remove from the heat and let cool slightly.

4. In the bowl of a stand mixer fitted with the paddle attachment, combine the cream cheese, sour cream and marshmallow cream. Beat on medium-high speed until smooth and well combined, 1-2 minutes. Blend in the cocoa powder, vanilla extract and eggs until incorporated. Stir in the melted chocolate until well blended. Pour the filling over the graham cracker crust and smooth the top with a spatula.

5. Bake about 25 - 30 minutes, or until the center is just set (does not jiggle when shaken gently.) Remove from the oven.

6. Evenly top the cheesecake layer with the mini marshmallows. Return to the oven for 2-3 minutes, just long enough so the marshmallows begin to melt into each other. Watch carefully! They brown very quickly. I just parked myself in front of the oven window.

7. Remove the pan from the oven and allow to cool. Once the cheesecake has reached room temperature, drizzle with melted milk chocolate if desired. I simply melted chocolate chips carefully in the microwave, transfered them to a resealable sandwich bag with a tiny bit of the corner cut off, and made diagonal stripes each way on the marshmallows. Very simple technique that looks impressive!

8. Transfer to the refrigerator and chill 2-3 hours before slicing and serving.

Source: Adapted from Annie's Eats and Sugar Plum

Thursday, July 22, 2010

Thin-Crust Pizza

DSC00293_labeled

DSC00291_labeled

Does anyone still read my blog?! I am SO behind on posts it's ridiculous! We are forging full speed ahead in the house hunting process, and it is time-consuming! We had our first "house heart-break" this week - a house we were seriously considering was sold right from under us. We found out the night before we were going to see it and possibly make an offer :-( Very sad, but we've decided not to let time go by wallowing in our sorrow, so we're on to the next. I don't want to rush a purchase by any means, but the thought of being in a home by fall and hosting Thanksgiving is so exciting. I'll keep you posted!

Another reason for my lack of posts is my job. I decided to be brave and take on an area of research VERY foreign to me for my postdoc . . . either I'm brave or stupid because it is SO hard. I feel like I know nothing and I'm starting from scratch. I know that beginning any new job is difficult and there will always be an adjustment period, but I hate that part! I guess I thought that with all my experience I'd be able to pick things up faster - nope!

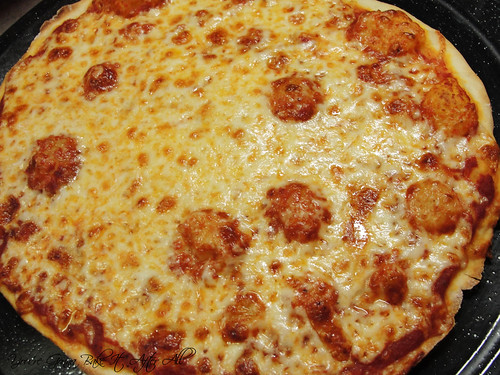
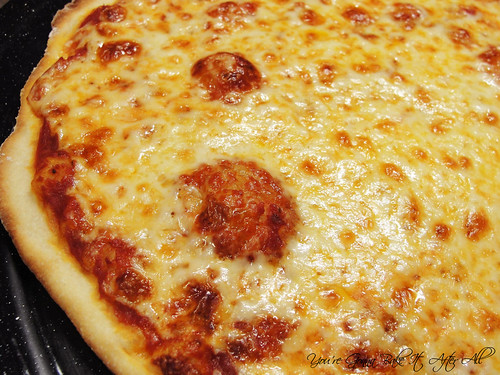
While I have not been cooking nearly as much as I should, I have managed to make a few things these past few weeks. One of my favorites is this Thin-Crust Pizza. The dough is so simple to put together, and it rises overnight in the fridge so the actual time preparing the pizza the day of is very minimal. The dough rolls out nicely, and the toppings couldn't be easier. We really liked this pizza, and I think it would be great with any of YFT (your favorite toppings).

I will try my hardest not to let this much time go by between posts again! :)

Thin-Crust Pizza

Ingredients:
For the dough:
1 3/4 - 2 cups (8 3/4 to 10 ounces) unbleached all-purpose flour, plus extra for the work surface
1/2 teaspoon instant or rapid-rise yeast
1/2 teaspoon honey
1/2 teaspoon table salt
1/4 cup olive oil
3/4 cup warm water (110 degrees)

For the toppings:
1 cup (or a little more) Quick Tomato Sauce for Pizza (recipe follows)
8 ounces whole milk mozzarella cheese, shredded (about 2 cups; fresh is NOT recommended because of the high moisture content - use shrink-wrapped kind)

Directions:
1. To make the dough, pulse 1 3/4 cups flour, the yeast, honey, and salt in a food processor fitted with a dough blade, if possible. Process until combined, about 5 seconds.

2. With the machine running, pour the oil and then the water through the feed tube and process until the dough forms a ball, about 30 seconds. If after 30 seconds the dough is sticky and clings to the blade, add the remaining 1/4 cup flour 1 tablespoon at a time. Turn the dough out onto a work surface.

3. Divide the dough in half and place each piece in a gallon-sized, heavy-duty zipper-lock bag and seal. Refrigerate overnight or up to 48 hours.

4. One hour before baking the pizza, adjust an oven rack to the lowest position, set a pizza stone on the rack, and heat the oven to 500 degrees.

5. Remove the dough from the plastic bags. Set each piece in the center of a lightly floured large sheet of parchment paper. Cover each with two 18-inch lengths of plastic wrap, overlapping them in the center; let the dough rest for 10 minutes.

6. Setting one piece of dough aside, roll the other into a 14-inch round with an even thickness, using the tackiness of the dough against the parchment to help roll it. If the parchment wrinkles, flip the dough sandwich over and smooth the wrinkles with a metal bench scraper.

7. Peel the plastic wrap off the top of the rolled dough. Spread 1/2 cup of the tomato sauce to the edges of the dough. Sprinkle with 1 cup of the cheese.

8. Slip the dough with the parchment onto a pizza peel or rimless baking sheet. Slide the pizza, parchment and all, on to the hot pizza stone. Bake until a deep golden brown, about 10 minutes. Remove the pizza from the oven with a pizza peel or pull the parchment with the pizza onto a baking sheet. Transfer the pizza to a cutting board, slide the parchment out from under the pizza, and slide it onto a wire rack. Cook 2 minutes until crisp; slide to a cutting board, cut into wedges, and serve.

9. While the first pizza is baking, repeat steps 6 and 7 to roll and top the second pizza; allow the baking stone ot reheat for 15 minutes after baking the first pizza, then repeat step 8 to bake the second pizza.


Quick Tomato Sauce for Pizza

Ingredients:
1 14.5-ounce can crushed tomatoes
1 tablespoon olive oil
1 medium garlic clove, minced or pressed through a garlic press (about 1 teaspoon)
table salt and ground black pepper

Directions:
1. Process the tomatoes in a food processor until smooth, about 5 pulses.

2. Heat the oil and garlic in a medium saucepan over medium heat until the garlic is fragrant, about 30 seconds. Stir in the tomatoes; bring to a simmer and cook, uncovered, until the sauce thickens, about 15 minutes. Season with salt and pepper to taste.

Source: The Complete America's Test Kitchen TV Show Cookbook

  © Blogger template Brownium by Ourblogtemplates.com 2009

Back to TOP