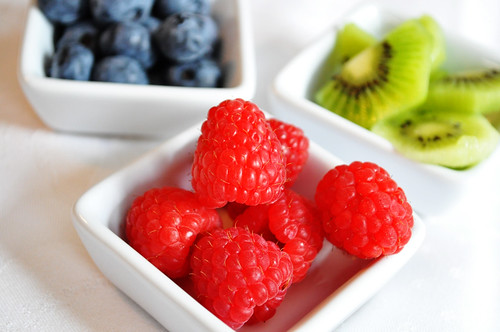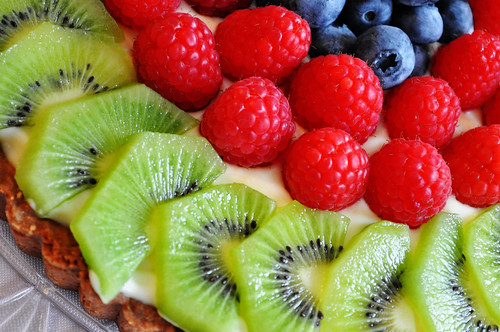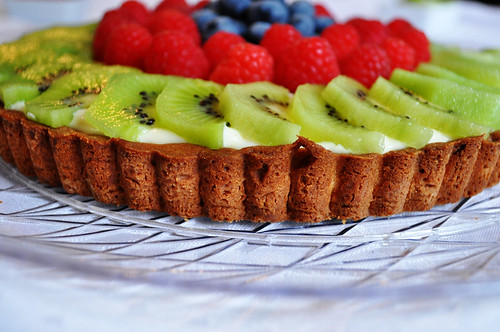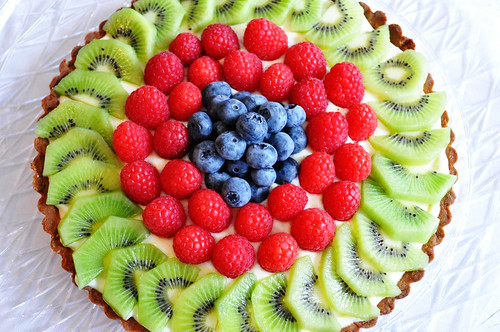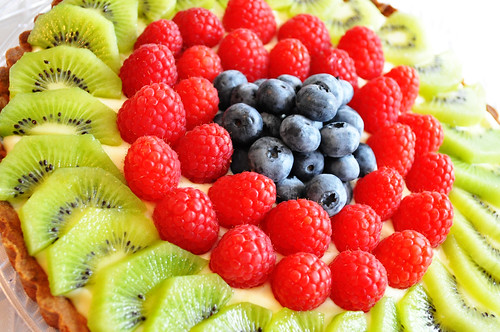
This tart has been a long time in the making. I first saw it on Annie's Eats several years ago and immediately wanted to make it, but if you're anything like me, your list of desserts to make could take several years to get through! Then my Dad gave me my beloved America's Test Kitchen Cookbook and guess what? The tart again. Taunting me with it's beautiful concentric arrangement of fruit! I finally gave in last summer and made it, and it was just as delicious as I imagined. If you've never had homemade vanilla pastry cream, you must try it! As it seems with many things these days, posting this tart took a backseat, but I'm finally ready to share it. The weather is getting warmer, and the season for delicious fresh fruit is approaching. Don't follow my lead and let this dessert slip by! You can top it with any fruit you like. I'm envisioning a red, white, and blue theme (if you replace the kiwi with more blueberries, for example) - perfect for all those summer BBQs!
Fresh Fruit Tart
Note: America's Test Kitchen states that the pastry cream can be made a day or two in advance and stored in the refrigerator but recommends that the tart shell not be filled and topped with fruit until approximately 30 minutes before serving.
Ingredients:
For the pastry cream:
2 cups half-and-half
1/2 cup granulated sugar
pinch table salt
5 large egg yolks,
3 tablespoons cornstarch
4 tablespoons unsalted butter, cold and cut into 4 pieces
1 1/2 teaspoons vanilla extract
For the tart shell:
1 large egg yolk
1 tablespoon heavy cream
1/2 teaspoon vanilla extract
1 1/4 cups unbleached all-purpose flour (6 1/4 ounces)
2/3 cup confectioners' sugar (~3 ounces)
1/4 teaspoon table salt
8 tablespoons unsalted butter (1 stick), very cold and cut into 1/2-inch cubes
For the fruit and glaze:
Fruit of your choice, such as raspberries, blueberries, and kiwis
1/2 cup red currant or apple jelly for glazing (optional)
Directions:
1. For the pastry cream: Bring to a simmer the half-and-half, 6 tablespoons sugar, and salt in a medium saucepan over medium heat, stirring occasionally to dissolve sugar.
2. Meanwhile, whisk the egg yolks in a medium bowl, then add remaining 2 tablespoons of sugar and whisk until it has started to dissolve and mixture is creamy, ~15 seconds. Whisk in cornstarch until combined, about 30 seconds, and mixtures turns a thick, pale yellow.
3. When the half-and-half mixture has reached a full simmer, gradually whisk it into the egg mixture, which will temper it. Return this combined mixture to the saucepan, making sure to scrape the bowl with a rubber spatula to transfer the entire amount. Return to a simmer over medium heat, whisking constantly, until a few bubbles burst on the surface and the mixture thickens and becomes glossy, ~ 30 seconds. Important note: this took longer than 30 seconds to come together for me. The important thing is not the actual time but rather that you continue to cook until the mixture thickens - it should become the consistency of pudding. If it's not, keep going (making sure to whisk constantly). The refrigeration step will help set the pastry cream, but if it's not thick at this point, it won't thicken enough upon chilling, so cook until it thickens. If you're wondering if it has thickened, it probably hasn't because it's pretty obvious and happens quickly :)
4. Remove pastry cream from heat and whisk in butter and vanilla. Pour it through a fine mesh sieve set over a medium bowl to remove any lumps or egg clumps. The easiest way to get it through the sieve is to whisk it through. Press plastic wrap directly on the surface (to avoid getting a "skin" on top - just like pudding!), and refrigerate the pastry cream until cold and set - minimum of 3 hours and maximum of 48 hours.
5. For the tart pastry: Whisk together the egg yolk, cream, and vanilla in a small bowl and set aside. In the bowl of a food processor, pulse to combine the flour, sugar, and salt. Scatter the pieces of butter over the flour mixture, and pulse until the mixture resembles coarse meal, about fifteen 1-second pulses. With the food processor running, add the egg mixture and process just until the dough comes together, ~25 seconds. Remove dough to a piece of plastic wrap and press into a 6-inch disk, wrap up, and refrigerate for a minimum of 1 hour, maximum of 48 hours.
6. Remove the dough from the refrigerator. If it has been longer than 1 hour, let the dough stand at room temperature until it is malleable. Unwrap the disk and roll it out into a 13-inch round between 2 pieces of floured parchment paper. If the dough becomes soft and sticky, slip it into the refrigerator until for another 20 - 30 minutes before proceeding.
7. Transfer the dough to a tart pan (9- or 9 1/2-inch diameter pan with removable bottom). To easily transfer dough, wrap it loosely around a rolling pin and carefully unwrap over the pan. Ease the dough into the pan edges and press it into the fluted sides. Run the rolling pin over the top of the tart to remove the excess dough that hangs over the top edge. Set pan on a plate and freeze for 30 minutes. (You may also put the pan in a gallon-sized resealable plastic bag and freeze for up to 1 month!)
8. Adjust an oven rack to the middle position and heat to 375F. Set the dough-lined tart pan on a baking sheet and place a 12-inch square of aluminum foil over the surface of the dough, putting pie weights inside to keep the foil on the dough surface. Bake for ~30 minutes until golden brown, rotating half way through. Remove from oven, carefully remove pie weights and foil, and continue baking until deep golden brown in color, about 5 - 8 more minutes. Set the baking sheet with the tart shell on a wire rack to cool to room temperature, about 30 minutes.
9. To assemble the tart: When the tart shell has cooled completely, spread the cold pastry cream over the bottom. Arrange the fruit on top of the pastry cream as desired.
10. To glaze (optional): Bring the jelly to a boil in a small saucepan, stirring occasionally to remove lumps. When jelly has melted, use a pastry brush to brush it over the fruit. You may add 1 teaspoon of water to the jelly and re-boil if it becomes too thick.
11. To serve: Remove outer ring of tart pan and slip tart onto a serving platter. You may leave the bottom of the pan for serving, but I prefer to remove it to avoid knife cuts on my pan. To remove the tart from the bottom of the pan, try using Kerstin's method of sliding a piece of dental floss or fishing line between the pan and the tart! ATK recommends serving tart within 30 minutes of assembling. I waited an hour or so and it seemed fine...
Source: Adapted from Annie's Eats and America's Test Kitchen Complete TV Show Cookbook

